Need Help? Call Us Now!
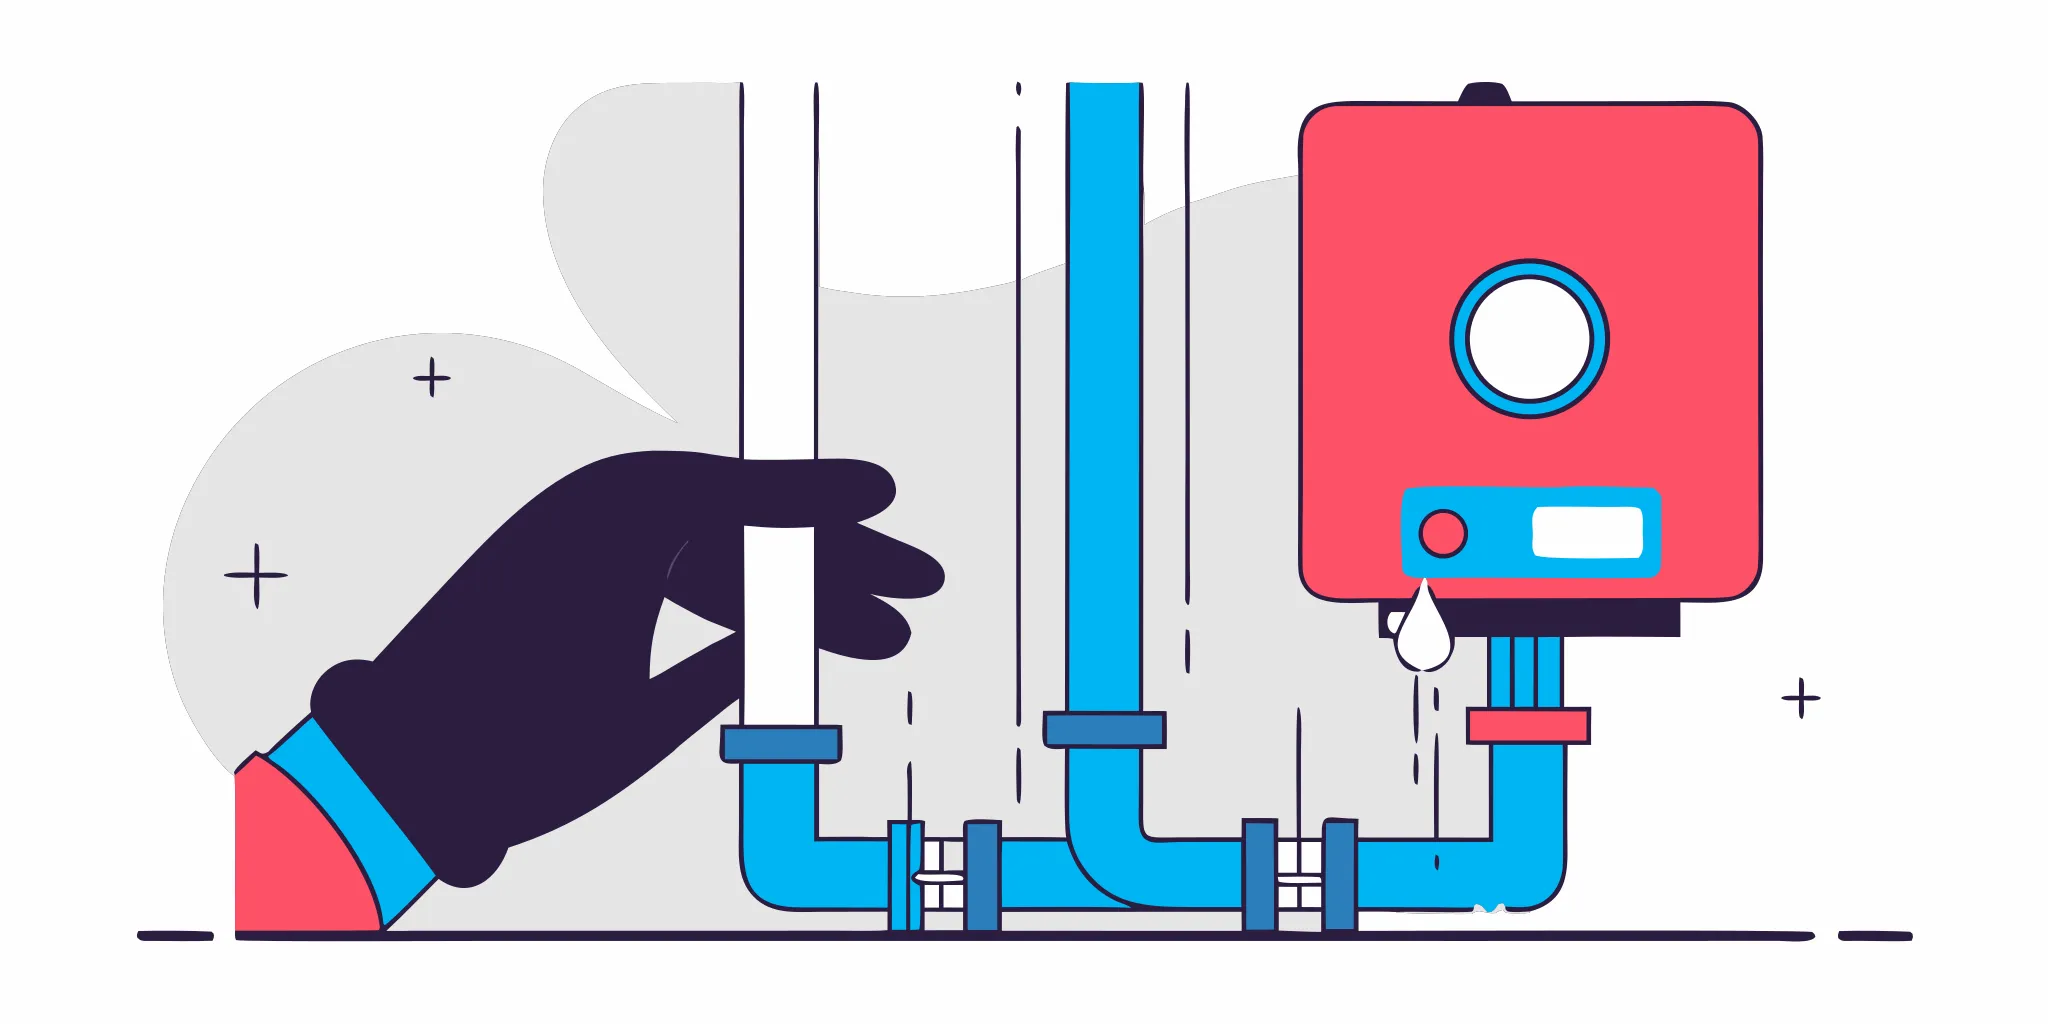
A hand turning the drain valve to flush out a water heater tank for maintenance.
Back to Blog
InsightsJune 26, 2026

Flushing Out a Water Heater in 7 Simple Steps

Flushing out water heater tanks keeps hot water flowing and extends unit life. Follow these 7 simple steps for safe, effective water heater maintenance.

That rumbling, popping sound coming from your utility closet isn’t a ghost; it’s your water heater crying for help. Many of us ignore the appliances that work tirelessly behind the scenes until they stop working altogether. For your water heater, that often means a shockingly cold shower or a puddle on the floor. The good news is that you can prevent most major issues with one simple task. For homeowners here on the Space Coast, where our hard water creates mineral buildup, flushing out water heater sediment is the single most effective piece of maintenance you can perform. It keeps your unit efficient, extends its life, and ensures you have hot water when you need it. ## Key Takeaways * **Improve efficiency and extend your unit's life**: Flushing your water heater annually removes mineral buildup, especially in areas with hard water like the Space Coast. This simple task helps your system run better, saves money on energy bills, and prevents a premature replacement. * **Know the signs of sediment buildup**: Pay attention to clues like popping noises, a decrease in hot water supply, or rusty water from your faucets. These are clear indicators that mineral sediment is affecting your water heater's performance and it's time for a flush. * **Understand the risks of DIY flushing**: While flushing your own tank is possible, it comes with risks like potential burns or breaking a fragile drain valve on an older unit. If you're not comfortable, or if the unit is old, [calling a professional](https://spacecoastcooling.com/plumbing-services/water-heater-repair/) ensures the job is done safely and thoroughly. ## Why Flush Your Water Heater? Think of flushing your water heater like getting an oil change for your car. It’s a simple maintenance task that plays a huge role in keeping a vital piece of home equipment running smoothly and efficiently. Overlooking it can lead to higher energy bills, a shorter lifespan for your unit, and even a cold shower when you least expect it. For those of us living along the Space Coast, where the water is notoriously hard, this isn't just a suggestion; it's a necessity for protecting your investment. At its core, flushing your water heater is the process of draining the tank to remove mineral deposits and sediment that have settled at the bottom. This gunk forces your system to work harder than it should, which is bad for both its health and your wallet. Taking the time to flush it out regularly prevents a whole host of problems down the line. It’s one of the most effective things you can do to maintain a reliable supply of hot water and avoid a premature and costly replacement. Let's break down exactly why this is so important. ### What Is Sediment Buildup? Sediment is just a mix of minerals and tiny bits of debris that are naturally present in our water supply. Here in Florida, our water is "hard," meaning it has a high concentration of minerals like calcium and magnesium. As water enters your heater and gets hot, these minerals separate and settle at the bottom of the tank, creating a thick, gritty layer. This layer of sediment acts like a blanket, insulating the water from the heating element. Your water heater is then forced to run longer and work harder to heat the water to the temperature you’ve set, wasting energy in the process. Over time, this can cause the tank to overheat, leading to strange noises, damage to the unit, and eventually, a complete breakdown. ### Improve Efficiency and Extend Lifespan When you flush out that layer of sediment, you allow the heating element to do its job properly again. The direct contact between the heating mechanism and the water makes the entire process much more efficient. A more efficient water heater uses less gas or electricity to keep your water hot, which translates directly into lower monthly utility bills. The U.S. Department of Energy even lists flushing as a key tip to [reduce your water heating costs](https://www.energy.gov/energysaver/reduce-hot-water-use-energy-savings). Beyond the monthly savings, regular flushing is the best way to extend the life of your water heater. By preventing the system from constantly overheating and straining, you reduce wear and tear on its components. A well-maintained water heater can last for years beyond one that's neglected, saving you from the major expense and hassle of an unexpected replacement. ### How Often Should You Flush It? As a general rule, you should plan to flush your water heater at least once a year. However, the ideal frequency really depends on your water quality. Because Florida has notoriously hard water, we often recommend homeowners on the Space Coast flush their tanks every six to twelve months. The harder your water, the faster sediment will accumulate, and the more frequently you’ll need to clear it out. If you hear popping or rumbling sounds coming from your tank, that’s a clear sign that sediment has already built up and it’s time for a flush. Don’t wait for the problem to get worse. Sticking to a regular schedule is the best way to keep your system running efficiently and avoid any surprises. ## Signs Your Water Heater Needs Flushing Your water heater usually gives you a few warning signs before a major issue occurs. Paying attention to changes in its performance can help you catch problems early, saving you from a cold shower or a costly emergency call. If you notice any of the following signs, your [water heater](https://www.spacecoastcooling.com/plumbing/water-heater-repair/) is likely telling you it’s time for a flush. It’s a straightforward maintenance task that can make a huge difference in your unit’s efficiency and lifespan. ### Listen for Strange Noises Have you started hearing strange sounds from the closet or garage where your water heater lives? Loud popping, rumbling, or banging noises are a classic sign of sediment buildup. Here’s what’s happening: minerals from our local water supply settle at the bottom of the tank over time, creating a thick layer of sediment. Water gets trapped underneath this layer, and when the heating element kicks on, that trapped water boils and steams, causing those startling popping sounds. It’s not just annoying; it means your heater is working much harder than it should. ### Notice a Drop in Hot Water If your morning shower is getting shorter because the hot water runs out faster than it used to, sediment could be the culprit. That layer of mineral buildup at the bottom of the tank doesn't just make noise; it also takes up valuable space that should be filled with water. More importantly, it creates a barrier between the heating element and the water. Your heater has to work overtime to heat through the [sediment](https://www.energy.gov/energysaver/storage-water-heaters), making it less efficient and leaving you with a dwindling supply of hot water when you need it most. ### Check for Discolored Water When you turn on the hot water tap, you expect it to be clear. If you’re seeing rusty, brownish, or cloudy water, it’s a major red flag. This discoloration often comes from rust and mineral deposits breaking loose from inside your water heater tank. While it might clear up after running for a bit, it’s a clear signal that the inside of your tank is deteriorating or has a significant amount of buildup. Ignoring it won't make it go away and can affect your [water quality](https://www.spacecoastcooling.com/plumbing/) throughout the house. ### Spot Sediment at the Faucet Sometimes the evidence of a problem shows up right at your faucet. If you notice tiny, gritty particles clogging your faucet aerators or see sandy sediment settled at the bottom of your bathtub after filling it, that material is likely coming from your water heater. These are bits of the mineral scale that have broken free and are now traveling through your home’s plumbing. While cleaning your aerators is a temporary fix, the problem will keep coming back until you address the source. Flushing the tank is the first step to clearing this out and preventing potential clogs in your pipes and fixtures. ## Get Ready for the Flush Alright, you’ve decided to tackle flushing your water heater. That’s a great move for keeping your system running efficiently and for a long time. Before you start turning valves and draining water, a little preparation goes a long way. Taking a few minutes to get organized will make the entire process smoother, safer, and much less messy. Think of it like gathering your ingredients before you start cooking; it just makes everything easier. We’ll walk through exactly what you need to have on hand, the safety steps you can’t afford to skip, and how to get your tank ready for the main event. This isn’t a complicated job, but doing it right means paying attention to the details. With the right setup, you can confidently clear out that sediment and get your water heater back to working its best. Let’s get everything in place so you can get this done and get back to your weekend. ### Gather Your Tools and Materials You don’t need a professional-grade workshop for this task, just a few basic items. Having everything within arm’s reach will prevent you from having to make a mid-project run to the hardware store. Here’s what you should have ready: * **A garden hose:** A standard hose will work perfectly. Make sure it’s long enough to reach a safe drainage spot. * **A bucket or a floor drain:** You’ll need somewhere for the water to go. [Attach a garden hose](https://www.callharrisnow.com/blog/how-to-flush-a-water-heater/) to the tank's drain valve and run the other end outside or into a large bucket. * **Work gloves:** Heat-resistant gloves are ideal, as the water can be very hot. * **Old towels:** Spills can happen, so it’s smart to have some towels nearby to protect your floors. * **A flathead screwdriver or wrench:** You might need one of these to open the drain valve, depending on the type your tank has. ### Prioritize Your Safety This is the most important part of your prep work. Water heaters store water at very high temperatures, so you need to be careful. The water draining from your tank will be scalding hot, so you must [use caution](https://www.blainemn.gov/1395/Water-Heater-Flushing) to avoid burns. Always wear protective gloves and closed-toe shoes to shield yourself from any splashes. Before you do anything else, you must cut the power source to the water heater. If you have an electric model, head to your breaker box and turn off the corresponding circuit. For a gas heater, you’ll need to turn the thermostat to the "Pilot" or "Off" setting. It’s critical to [turn off the power or gas first](https://www.callharrisnow.com/blog/how-to-flush-a-water-heater/) to prevent injury and avoid damaging the unit. ### Let the Tank Cool Down Once you’ve shut off the power or gas, give the water inside the tank some time to cool down. Flushing the tank immediately after turning it off means you’ll be dealing with extremely hot water, which increases your risk of getting burned. Waiting a few hours will make the process much safer. This step also protects your water heater. For electric models, the heating elements can burn out if they are turned on while the tank is empty. By making sure the power is off well in advance, you prevent this costly mistake. So, turn it off, go run an errand or relax for a bit, and then come back to finish the job with cooler, safer water. ## How to Flush Your Water Heater: A Step-by-Step Guide Ready to give your water heater a little TLC? Flushing your tank is one of the most effective ways to maintain its health and efficiency, and it’s a task you can definitely handle yourself. Following these steps will help you safely and effectively clear out the sediment that’s been building up inside. The whole process usually takes about an hour, so it’s a perfect weekend project. Just set aside some time when your household won’t need hot water. Before you start, remember to work carefully and follow each step in order. The goal is to clean your tank, not create a plumbing emergency. If at any point you feel unsure or run into a valve that won’t budge, it’s always best to stop and call a professional. It’s much better to be safe and ask for help than to risk damaging your water heater or causing a leak. With that in mind, let’s get started. ### Step 1: Turn Off the Power or Gas Safety always comes first. Before you do anything else, you must cut the power or gas supply to your water heater. For an electric model, find its dedicated breaker in your home’s circuit breaker panel and flip it to the "Off" position. If you have a gas water heater, look for the control knob on the unit itself and turn it to the "Pilot" or "Off" setting. This crucial step prevents the heating elements or burner from activating while the tank is empty, which could cause serious damage. ### Step 2: Shut Off the Water Supply Next, you need to stop more water from getting into the tank. Find the cold water inlet pipe, which is usually located on the top of your water heater and might have a blue handle or tag. Turn the valve on this pipe clockwise until it’s completely closed. If it’s a lever-style handle, turn it so it’s perpendicular to the pipe. This ensures that no new water will flow into the tank while you’re trying to drain it, making the process much smoother. ### Step 3: Connect the Hose Now it’s time to get your hose ready. Locate the drain valve near the bottom of your water heater tank; it looks like a regular spigot. Securely attach a standard garden hose to this valve. Run the other end of the hose to a safe drainage spot, like a floor drain, a bathtub, or outside onto your lawn. Just make sure the draining water won't cause any damage or create a mess. A little bit of planning here will save you from a big cleanup later. ### Step 4: Drain the Tank With the hose in place, you can start draining the water. Open the drain valve at the bottom of the tank. To help the water flow out faster, you’ll also want to open the pressure relief valve (often called the T\&P valve), which is a small lever on the top or side of the tank. You might hear a hissing sound as air enters the tank, which is completely normal. Now, just be patient and wait for the tank to drain completely. This can take anywhere from 15 minutes to an hour. ### Step 5: Flush Out the Sediment Once the tank is empty, it’s time to get rid of that stubborn sediment. With the drain valve still open, briefly turn the cold water supply back on for about 15 seconds at a time. This will send a blast of water into the tank, stirring up the gunk at the bottom and pushing it out through the hose. Turn the water off and let it drain. Repeat this a few times until you see clear water running out of the hose. This is the most important step for a thorough cleaning. ### Step 6: Check the Anode Rod While the tank is empty, it’s a great time to inspect the anode rod. This is a "sacrificial" metal rod inside your tank that attracts corrosive elements to protect the tank itself from rusting. You’ll need a socket wrench to unscrew it from the top of the water heater. If the rod is pencil-thin or looks heavily corroded, it’s time for a replacement. A healthy anode rod is essential for extending your water heater’s life. If you’re not comfortable with this step, a professional can easily handle it for you. ### Step 7: Refill the Tank and Restore Power You’re on the home stretch! Close the drain valve and remove the garden hose. Make sure the pressure relief valve is also closed. Go inside and turn on a hot water faucet, like the one in your kitchen. Now, go back to the water heater and slowly turn the cold water supply valve back on. As the tank fills, air will be pushed out through the open faucet. Once you have a steady stream of water, you can turn it off. Only after the tank is completely full should you restore power or relight the pilot. ## Common DIY Flushing Mistakes While flushing your water heater yourself can feel like a productive weekend project, it’s one of those tasks where a small mistake can lead to big problems. It’s not just about draining and refilling a tank; you’re dealing with scalding water, delicate parts, and electrical or gas connections. Knowing the common pitfalls can help you decide whether this is a job you want to tackle on your own. From personal safety risks to accidentally damaging the unit, a few key issues pop up frequently when homeowners try to go it alone. Let’s walk through what can go wrong so you can avoid a plumbing emergency. ### Risk of Burns from Hot Water The most immediate danger when flushing a water heater is the water itself. The water inside your tank is heated to at least 120 degrees, and it can be much hotter. When you open that drain valve, you’re releasing gallons of scalding water that can cause serious burns in seconds. Even if you’ve let the tank cool down, the water can remain dangerously hot for hours. Professionals are trained to handle this safely and come equipped with the right protective gear. If you decide to proceed, please use extreme caution and wear heavy-duty gloves and closed-toe shoes to protect yourself from any unexpected splashes or leaks during the draining process. ### Potential for Leaks and Damage Your water heater’s drain valve isn’t designed for frequent use. Over time, it can become brittle or stuck in place from sediment buildup. Forcing it open or closed can easily cause it to crack, break, or fail to seal properly afterward, leading to a persistent leak. A slow drip might not seem like a big deal, but it can cause water damage to your floors and walls over time. A more serious break could lead to a major flood in your garage or utility closet. Our technicians handle these delicate components every day and know how to prevent these issues, providing expert [plumbing solutions](https://spacecoastcooling.com/plumbing/) if a valve is already compromised. ### Leaving Sediment Behind The whole point of flushing your water heater is to remove the sediment that makes it inefficient and shortens its lifespan. Unfortunately, a simple DIY flush often leaves the most stubborn mineral deposits behind. Sediment can harden and cake onto the bottom of the tank and the heating elements, and simply draining the water won’t be enough to break it loose. Professional plumbers use specific techniques to stir up and thoroughly flush out all the gunk, ensuring your tank is actually clean. Without a complete flush, you’re not getting the full benefits of improved efficiency and may find yourself having to do the job again much sooner. ### Damaging an Older Unit If your water heater is more than a few years old, a DIY flush comes with added risks. As mentioned, the drain valve can become fragile over time and is more likely to break on an older unit. Furthermore, flushing is the perfect time to inspect the anode rod, a critical component that protects your tank from rusting. Most homeowners don't know how to check it or what to look for. If the anode rod is depleted, flushing the tank can sometimes expose underlying weaknesses, potentially leading to leaks. A professional water heater service includes an inspection of the anode rod and other key parts to ensure the entire system is in good shape. ## When to Call a Professional While flushing your water heater is a manageable DIY project for many, there are times when it’s best to leave it to a professional. Knowing when to put down the tools and pick up the phone can save you from a major headache, a costly repair, or even a dangerous situation. If you’re feeling unsure at any point in the process, it’s always smarter and safer to call for expert help. A simple maintenance task should never turn into a plumbing emergency. ### Signs You Need an Expert Trust your instincts. If the job feels like it’s getting out of hand, it probably is. It’s time to call for backup if you notice any of these signs: * **It’s been a long time:** If your water heater has not been flushed in several years, the sediment can harden and the drain valve can become fragile. Forcing it could cause a leak or break the valve. * **The drain valve is leaking:** If the valve starts dripping after you close it, or if it was leaking before you started, it’s a sign it needs to be replaced by a pro. * **The pressure relief valve looks faulty:** Any leaking, corrosion, or unusual sounds from this critical safety component warrant an expert inspection. * **You’re just not comfortable:** Working with gas lines or electrical connections is serious business. If you feel unsure at any point, it’s always the right decision to call a professional. ### How We Can Help When you call in a professional, you’re getting more than just a simple flush. A trained plumber from Space Coast Cooling & Plumbing can perform the flush safely and completely, ensuring no sediment is left behind. More importantly, we can spot hidden problems before they turn into expensive emergencies. During a routine water heater service, our technicians also check for issues like a worn-out anode rod, which protects your tank from rust. Catching these small things early helps your water heater last longer, run more efficiently, and save you money on future energy bills. ## Related Articles * [Can a Water Heater Cause Low Water Pressure in Your Home?](https://spacecoastcooling.com/can-a-water-heater-cause-low-water-pressure/) * [Professional Water Heater Repair Cocoa, FL](https://spacecoastcooling.com/plumbing-services/water-heater-repair/) * [Expert Water Heater Installation & Replacement Cocoa, FL](https://spacecoastcooling.com/plumbing-services/water-heater-installation-replacement/) * [Are HVAC Maintenance Plans Worth It? What to Know](https://spacecoastcooling.com/are-hvac-maintenance-plans-worth-it/) * [Maintenance Plans | Space Coast Cooling & Plumbing, Inc.](https://spacecoastcooling.com/maintenance-plans/) ## [Frequently Asked Questions](https://spacecoastcooling.com/faq/) **Is flushing my water heater really that important in Florida?** Absolutely. Florida's hard water is packed with minerals that settle in your tank, creating a thick layer of sediment. This forces your heater to work much harder, which wastes energy and can shorten its life. Regular flushing isn't just a general recommendation here on the Space Coast; it's one of the most important maintenance steps you can take to protect your investment and keep your utility bills in check. **Can I damage my water heater by flushing it myself?** It is possible, especially with older units. The biggest risks involve the drain valve, which can become brittle and break if forced, leading to leaks. There's also a safety risk from the scalding hot water. If you're not careful, you could also forget to restore power only after the tank is full, which can burn out the heating elements. If you have any doubts, it's always safer to call a professional. **What's the difference between a DIY flush and a professional service?** When you hire a professional, you get more than just a drain and refill. We use specific techniques to ensure all the hardened sediment is broken up and flushed out, not just the loose stuff. More importantly, a professional service includes a full inspection. We check critical parts like the anode rod, pressure relief valve, and all connections to catch small issues before they become big, expensive problems. **My water heater is making popping noises. Is it too late to flush it?** Not at all, in fact, those noises are your water heater's way of telling you it needs a flush right away. The popping sound is caused by water trapped under a layer of sediment boiling. Flushing the tank will remove that sediment and should stop the noise. However, if the sounds are very loud or the unit is older, it's a good idea to have a professional handle it, as the buildup might be severe. **Do tankless water heaters need to be flushed too?** Yes, they do, but the process is different. Tankless water heaters don't store water, so they don't collect sediment in the same way. Instead, mineral scale can build up on the delicate internal components, restricting water flow and reducing efficiency. They require a special descaling procedure to dissolve these minerals. We recommend having this done annually to keep your on-demand hot water flowing strong.
Available 24/7

Call the Experts that Local Homeowners Rely On

When you need home services, you want answers you can trust and work you can count on. Space Coast Cooling & Plumbing is the plumbing and HVAC company in Cocoa, FL, that brings decades of local experience, licensed professionals, and customer-first service to every job. One call connects you with a team ready to help.

Licensed & InsuredServing Cocoa Since 1994Honest, Upfront PricingSame-Day Service Available