Need Help? Call Us Now!
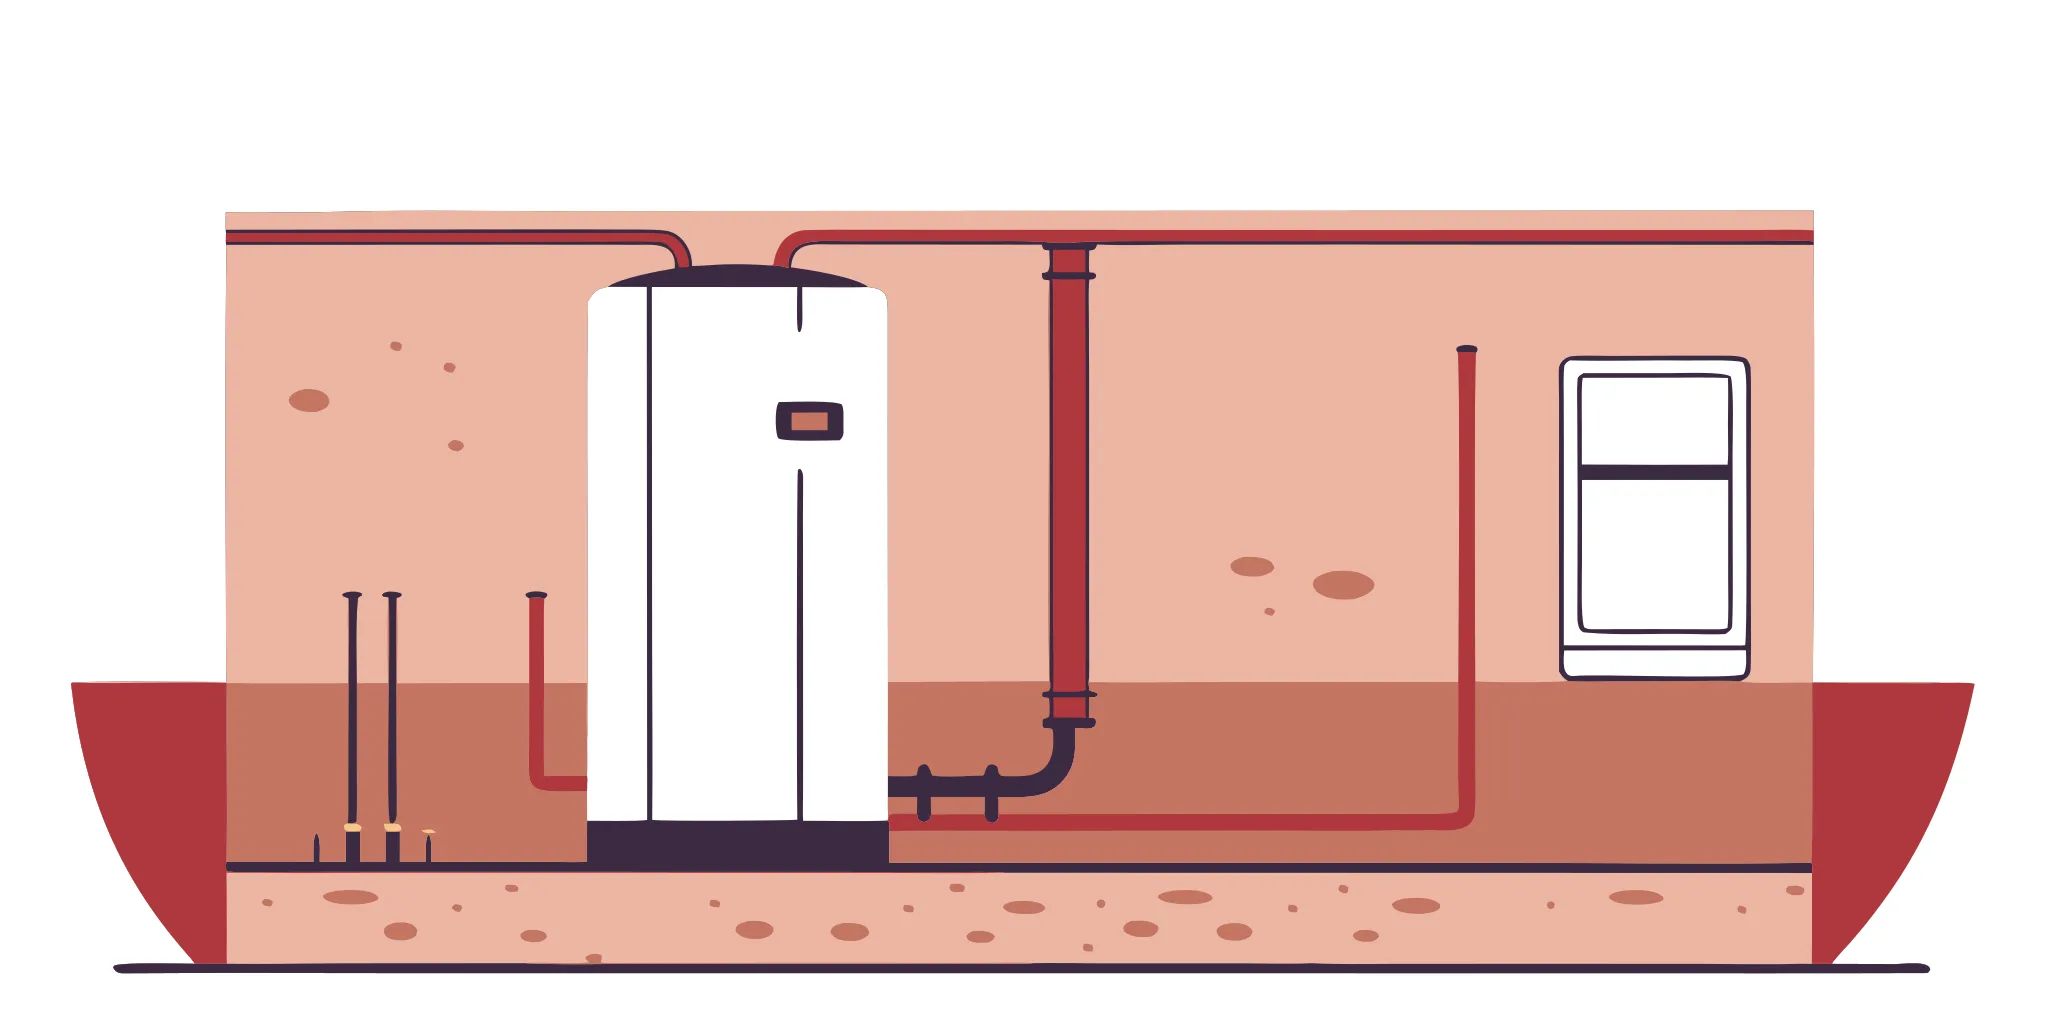
Hot water heater tank and pipes where sediment buildup causes problems.
Back to Blog
InsightsJune 26, 2026

Hot Water Heater Sediment Problems & How to Fix Them

Get practical solutions for hot water heater sediment problems. Learn how to spot buildup, flush your tank, and keep your water heater running smoothly.

An unexpected jump in your energy bill can be frustrating, and the culprit is often hiding in plain sight. Your water heater is one of the biggest energy consumers in your home, and when it’s not running efficiently, your wallet feels it. A thick layer of mineral sediment at the bottom of the tank acts like an insulator, forcing the system to run much longer just to heat your water. This energy waste is one of the most costly hot water heater sediment problems you can face. Before you resign yourself to high bills, let’s explore how to identify and solve this common issue to restore your heater’s efficiency. ## Key Takeaways * **Listen for Trouble**: Strange popping or rumbling sounds are your water heater's way of telling you it's struggling with sediment. Addressing these noises early can prevent high energy bills and premature failure. * **Make Annual Flushing a Priority**: For Florida's hard water, flushing your tank once a year is the best way to remove damaging mineral buildup. This simple task keeps your heater efficient, lowers utility costs, and helps it last longer. * **Play the Long Game with Prevention**: You can stop most sediment before it starts by installing a water softener or lowering your tank's temperature to 120°F. These proactive steps, combined with professional maintenance, are the key to protecting your investment. ## What Is Water Heater Sediment (and Why Is It a Problem)? If you’ve ever heard your water heater making strange popping, rumbling, or crackling sounds, you’ve likely encountered the effects of sediment buildup. Think of sediment as a collection of mineral deposits and tiny bits of debris that settle at the bottom of your water heater tank over time. While it might seem harmless, this layer of gunk can cause a surprising number of problems, from driving up your energy bills to shortening the life of your appliance. Essentially, the sediment forms a barrier between the heating element and the water. Your heater is forced to work harder and longer to get the water hot, wasting energy and putting a strain on its components. For homeowners here on the Space Coast, our water quality makes this a particularly common issue. Understanding what sediment is and where it comes from is the first step in keeping your water heater running efficiently and safely for years to come. ### Where Does Sediment Come From? Sediment isn’t just one thing; it’s a mix of tiny particles that are naturally present in our water supply. These particles can include sand, silt, and very small bits of rust that travel through the municipal water lines to your home. Every time your water heater fills, it brings in a new batch of these microscopic stowaways. Since the water sits in the tank while it’s being heated, these heavier-than-water particles have plenty of time to settle and form a layer at the bottom. It’s a completely normal process, but one that needs to be managed. ### The Main Culprits: Minerals and Rust The biggest contributors to sediment buildup are dissolved minerals, primarily calcium and magnesium. Water that is rich in these minerals is known as hard water, and it’s very common throughout Florida. When hard water is heated, the minerals precipitate out and solidify, creating a hard, crusty scale. This is the same type of chalky white residue you might see on your showerheads and faucets. Over time, this scale combines with other debris like sand and rust particles, forming a thick, insulating sludge at the bottom of your tank that is difficult for your system to overcome. ### Why Florida's Hard Water Accelerates the Problem Living in Florida means dealing with some of the hardest water in the country. This high mineral content is exactly what accelerates sediment buildup in our water heaters. While a home in an area with soft water might not see significant buildup for several years, a water heater on the Space Coast can develop a problem layer in as little as one year. This sediment acts like a thick blanket, preventing the burner or heating element from efficiently transferring heat to the water. Your heater has to run longer to reach the set temperature, which leads directly to higher utility bills and can cause the unit to overheat and fail prematurely. ## 5 Telltale Signs of Sediment Buildup Your water heater is one of those appliances you probably don't think about until it stops working. But long before it gives out completely, it often sends signals that something is wrong. One of the most common culprits behind a struggling water heater, especially here in Florida, is sediment buildup. Those minerals from our hard water settle at the bottom of the tank, creating a layer of sludge that causes all sorts of problems. Ignoring these signs won't make them go away. In fact, it usually leads to bigger, more expensive issues down the road, like permanent tank damage or a complete system failure. The good news is that your water heater will tell you what it needs if you know what to listen for. Paying attention to these five telltale signs can help you catch sediment buildup early. This can save you from cold showers, high energy bills, and the cost of a premature replacement. ### 1. Loud Popping or Rumbling Noises If your water heater has started making strange noises, it’s not haunted; it’s calling for help. Homeowners often describe the sound as a loud pop, a low rumble, or a crackling noise coming from the tank. This is one of the most direct signs of significant sediment buildup. The noise happens because minerals have formed a hard layer over the bottom heating element. Water gets trapped underneath this sediment layer, and as it heats up and boils, the steam bubbles force their way out with a pop. It’s essentially a mini-explosion happening over and over inside your tank, which puts a lot of stress on the appliance. ### 2. Inconsistent or Lukewarm Water Are you getting a lukewarm reception from your shower? If your hot water just isn't getting hot enough, or if it runs out much faster than it used to, sediment is a likely suspect. Think of that mineral layer at the bottom of the tank as a thick, unwanted blanket. It insulates the heating element from the water, forcing it to work much harder to do its job. The heater struggles to transfer heat effectively, resulting in water that never reaches its target temperature. This means longer waits for hot water and shorter, less satisfying showers, all because the heater can't overcome that internal barrier. ### 3. Discolored Water or Strange Odors When you turn on the hot tap, the water should be crystal clear. If you see cloudy, rusty, or brownish water, it’s a major red flag. This discoloration is often caused by sediment particles mixing with your water. Even worse, that sediment layer can accelerate corrosion inside your tank, causing bits of rust to flake off and come through your faucets. Sometimes, you might also notice a rotten egg smell, which is caused by bacteria that can thrive in the warm, sludgy environment at the bottom of the tank. Clear water from the cold tap but discolored water from the hot is a sure sign the problem is inside your water heater. ### 4. A Drop in Hot Water Pressure If you've noticed the water flow from your hot tap has become a disappointing trickle while the cold water is still running strong, sediment could be the cause. As the mineral buildup inside the tank gets disturbed, small particles can break free and travel into your home's plumbing system. These bits of sediment are often large enough to get stuck in the narrow passages of your pipes, faucet aerators, and showerheads, creating a blockage. This obstruction restricts the flow of hot water, leading to a frustrating drop in pressure that only affects the hot side of your [comprehensive plumbing solutions](https://www.spacecoastcooling.com/plumbing-services/). ### 5. Higher-Than-Usual Energy Bills An unexplained spike in your utility bill can often be traced back to a struggling appliance, and your water heater is a prime candidate. When a thick layer of sediment forces your heater to run longer and harder to warm the water, it uses significantly more energy. Whether you have a gas or electric model, that extra work translates directly into higher monthly bills. If your energy costs are creeping up without any other explanation, it’s worth checking your water heater. Addressing the sediment problem won't just restore your hot water; it will also give your wallet a break. Regular [professional maintenance](https://www.spacecoastcooling.com/maintenance-plans/) is the best way to keep it efficient. ## Why You Shouldn't Ignore Sediment in Your Tank Those strange noises from your water heater might seem like a minor annoyance, but they’re often a sign of a bigger problem brewing inside the tank. Ignoring sediment buildup is like ignoring a check engine light in your car. At first, it’s just a light, but eventually, it leads to costly and inconvenient breakdowns. The layer of minerals at the bottom of your tank puts constant stress on the entire system, leading to a chain reaction of problems that affect your wallet, your comfort, and even your home's safety. Let's walk through exactly what happens when sediment is left to its own devices. ### Wasted Energy and Higher Bills Think of sediment as a thick, unwanted blanket covering your water heater’s heating source. For an electric model, this blanket smothers the lower heating element; for a gas model, it covers the bottom of the tank where the burner flame is. In either case, the system has to work much harder and run longer to heat the water through that mineral layer. This extra effort isn't free. It directly translates to wasted energy and a noticeable spike in your monthly utility bills. You end up paying more for less efficient performance, and the problem only gets worse as more sediment accumulates. ### Damage to the Heating Element and Tank That extra work doesn't just cost you money; it also causes serious wear and tear. The heat that gets trapped by the sediment layer has to go somewhere. For electric heaters, this often causes the lower heating element to overheat and burn out, leaving you with lukewarm or completely cold water. In gas heaters, the intense heat can weaken the steel at the bottom of the tank itself. This constant overheating can stress the tank's glass lining, causing it to crack and expose the steel to corrosion. Essentially, you’re slowly cooking your water heater from the inside out. ### A Shorter Lifespan for Your Heater Water heaters are a significant investment, and you want them to last as long as possible, typically around 8 to 12 years. However, chronic sediment buildup can cut that lifespan in half. A heater that’s constantly overheating and straining to do its job is going to fail much sooner. With Florida’s notoriously hard water, a damaging amount of sediment can accumulate in as little as a year. Failing to perform regular water heater maintenance could mean replacing a unit that’s only five or six years old, turning a preventable issue into a major expense. ### Potential Leaks and Safety Hazards As the tank bottom weakens from constant overheating, it can develop small cracks and fissures. This is a primary cause of slow leaks that can lead to significant water damage in your garage or utility closet. In a worst-case scenario, the combination of a weakened tank and extreme pressure buildup can create a serious safety risk. While a catastrophic failure is rare, the potential for leaks is very real. Protecting your home and family starts with addressing the sediment before it has a chance to compromise the integrity of the tank. ## How to Flush Your Water Heater: A Step-by-Step Guide Flushing your water heater is one of the most effective ways to combat sediment buildup, improve efficiency, and extend the life of your unit. While it might sound intimidating, it’s a straightforward maintenance task that most homeowners can handle in about an hour. Think of it as a deep clean for one of the hardest-working appliances in your home. By clearing out all that mineral gunk, you’re helping your heater run more smoothly and preventing future headaches. Ready to get started? We’ll walk you through the entire process, step by step. Just remember, safety comes first. If you feel unsure at any point or if the drain valve seems stuck, don’t force it. Our team at Space Coast Cooling & Plumbing is always here to help with professional water heater maintenance. But if you’re ready to tackle it yourself, grab your tools and let’s begin. ### Before You Start: Gather Your Tools Having everything you need on hand before you start makes the job go much faster. You don’t need a lot of specialized equipment, and you probably have most of these items already. Here’s a quick checklist: * A standard garden hose (long enough to reach a safe drainage area) * A flathead screwdriver or channel-lock pliers (to open the drain valve) * Work gloves to protect your hands from hot water That’s it. Once you have your gear assembled, you’re ready to move on to the first and most important step: shutting everything off safely. ### Step 1: Cut the Power (or Gas) Safety is the top priority. Before you do anything else, you must cut the energy source to your water heater. Running an electric heating element in an empty or partially empty tank can cause it to burn out in minutes, leading to a costly repair. * **For an electric water heater:** Go to your home’s circuit breaker panel and find the breaker labeled “Water Heater.” Flip it to the “Off” position. * **For a gas water heater:** Look for the temperature control dial on the gas valve, which is usually near the bottom of the tank. Turn the knob to the “Pilot” or “Off” setting. This will stop the burner from kicking on while you work. ### Step 2: Turn Off the Water Supply Next, you need to stop more water from entering the tank while you’re trying to drain it. Locate the cold water inlet pipe at the top of your water heater. You should see a handle or knob on this line. This is the shutoff valve. Turn it clockwise until it stops. This will close the valve and prevent cold water from refilling the tank as it drains. If you have an older gate valve (the kind that looks like a circular knob), be gentle, as they can sometimes be stiff. ### Step 3: Connect a Hose to the Drain Valve Now it’s time to get ready to drain. Find the drain valve, which looks like a spigot, near the bottom of the water heater tank. Carefully screw one end of your garden hose onto the valve. Run the other end of the hose to a place where it’s safe to drain a large amount of very hot, sediment-filled water. A floor drain, a bathtub, or a spot outside on your lawn or driveway that won’t be damaged by the heat are all good options. Make sure the end of the hose is secure so it doesn’t whip around once the water starts flowing. ### Step 4: Drain the Tank With the hose securely in place, it’s time to open the drain valve and let the water out. You may need your flathead screwdriver or pliers to turn the valve, as they can be tight. Turn it counter-clockwise to open it. You’ll also want to open a hot water faucet somewhere in your house, like a kitchen or bathroom sink. This helps break the vacuum in the lines and allows the tank to drain faster. Be patient, as it can take anywhere from 10 to 30 minutes for the tank to empty completely. Remember, this water is hot, so be careful. ### Step 5: Flush Out the Sediment Once the tank is empty, the real cleaning begins. With the drain valve still open and the hose attached, briefly turn the cold water supply valve back on for about 15-20 seconds. This will send a blast of cold water into the bottom of the tank, stirring up any stubborn sediment that didn’t come out during the initial drain. Let that water flow out through the hose. You’ll likely see a final burst of cloudy, gritty water. Repeat this process two or three times until the water running out of the hose is completely clear. This is the most important part of the [flushing process](https://www.youtube.com/watch?v=hs5N7HyDUWo). ### Step 6: Refill and Restart Your Heater You’re on the home stretch. First, close the drain valve tightly and disconnect your garden hose. Next, make sure the hot water faucet you opened earlier is still on. Now, go back to the tank and turn the cold water supply valve back on. You’ll hear the tank start to fill. Let it fill completely. You’ll know it’s full when you have a steady stream of water (no sputtering air) coming from the open hot water faucet inside. Once the air is gone, you can turn that faucet off. Finally, go back to your breaker box or gas valve and restore power to the heater. ## How Often Should You Flush Your Water Heater? Now that you know how to flush your water heater, the next logical question is, how often do you really need to do it? The straightforward answer is that you should plan to drain your water heater at least once a year. Making this an annual task is the best way to keep sediment from accumulating and causing all those frustrating issues like popping noises, lukewarm showers, and high energy bills. Think of it like an annual check-up for one of your home’s hardest-working appliances. Here in Florida, our water is notoriously hard, which means it carries a higher concentration of minerals like calcium and magnesium. This can cause sediment to build up much faster than in other parts of the country. Because of this, if you notice signs of sediment returning quickly after a flush, you might consider doing it every six to eight months. An annual flush is a great starting point, but paying attention to your home and water quality will help you find the perfect schedule. Following a consistent routine [cleans out the built-up sediment](https://www.springwellwater.com/7-signs-of-sediment-in-your-water-heater/) and helps your heater run more efficiently. Ultimately, regular flushing is one of the most [cost-effective ways to protect your water heater](https://www.aaastl.com/blog/clean-sediment-from-hot-water-heater/) and keep your utility costs in check. It’s a small investment of time that pays off by extending the life of your unit and preventing a surprise cold shower. If you’re not comfortable tackling this yourself or just want to be sure it’s done right, our team can easily handle it during a routine plumbing maintenance visit. ## Proactive Tips to Prevent Sediment Buildup Flushing your water heater is a great reactive measure, but taking a few proactive steps can prevent most sediment from forming in the first place. This not only saves you the hassle of frequent flushing but also extends the life of your water heater and keeps it running efficiently. Think of it as simple preventative care for one of your home’s most important appliances. Here are four key strategies to keep sediment at bay. ### Install a Water Softener Because Florida is known for its hard water, one of the most effective long-term solutions is to tackle the problem at its source. A whole-home water softener works by removing minerals like calcium and magnesium from your water before they ever enter your water heater. With fewer minerals in the water, there’s simply less material to settle at the bottom of your tank. This not only protects your water heater but also benefits all of your other water-using appliances, from your dishwasher to your coffee maker, and can even help reduce soap scum on your fixtures. It’s a fantastic investment in protecting your home’s entire plumbing system. ### Adjust Your Heater's Temperature Here’s a simple adjustment you can make that has a real impact. Most manufacturers set water heater thermostats to 140°F, but this high temperature actually accelerates mineral buildup. When water is hotter, minerals separate and solidify more quickly. The Department of Energy recommends setting the temperature to 120°F. This is still plenty hot for showers and washing dishes, but it’s low enough to significantly slow down sediment formation. As a bonus, this small change also reduces your energy consumption and lowers the risk of accidental scalding, making your home both more efficient and safer. ### Inspect the Anode Rod Annually Inside your water heater tank is a component called an anode rod. Its job is to protect the tank from rusting by corroding in its place, which is why it's often called a "sacrificial" rod. Over time, this rod dissolves completely. Once it's gone, the tank itself begins to corrode, creating rust particles that contribute to sediment and eventually leading to a tank failure. Having a professional inspect the anode rod annually and replace it when needed is a small, inexpensive step that can add years to your water heater's life. This is a standard part of our professional maintenance plans. ### Schedule Professional Maintenance While flushing a tank is something some homeowners can handle, nothing beats the thoroughness and safety of professional service. During a maintenance visit, a licensed plumber can do more than just drain the tank. We can properly flush stubborn sediment, inspect the anode rod, check the pressure relief valve for safety, and look for early signs of wear and tear that could lead to future leaks. Scheduling an annual tune-up with our team ensures your system is running safely and efficiently, giving you peace of mind and preventing a small issue from turning into a major, costly emergency. If it’s been a few years since your last service, give our team a call to get it checked out. ## When Is It Time to Call a Plumber? While flushing a water heater can be a DIY project, there are times when the smartest and safest move is to call a professional. If you’re feeling unsure or run into a problem, it’s always better to get an expert opinion than to risk damaging your heater or causing a major leak. Think of it as protecting your investment and your home. One of the biggest red flags is the age and maintenance history of your unit. If your water heater is more than a few years old and has never been flushed, its drain valve could be seized with rust and mineral deposits. Trying to force it open could cause it to break, leaving you with a much bigger problem. In these cases, a professional can assess the situation and determine if flushing is even possible or if you should start planning for a replacement. You should also call for help if you suspect a severe amount of buildup. If your tank is making loud rumbling or popping sounds, a simple flush might not be enough to clear the hardened sediment. Our technicians have specialized tools to safely handle water heater repairs and can thoroughly clean the tank without causing damage. Furthermore, if you start the process and the drain valve won’t open, won’t close, or you spot any signs of leaking or corrosion on the tank itself, stop what you’re doing immediately. A tank weakened by corrosion is a serious safety hazard and almost always requires a full replacement. ## Related Articles * [Yellow Hot Water? Causes & How to Fix It](https://www.spacecoastcooling.com/blog/yellow-hot-water-fix/) * [Professional Water Heater Repair Cocoa, FL](https://spacecoastcooling.com/plumbing-services/water-heater-repair/) * [Expert Water Heater Installation & Replacement Cocoa, FL](https://spacecoastcooling.com/plumbing-services/water-heater-installation-replacement/) * [Trusted Water Filtration Installation in Cocoa, FL](https://spacecoastcooling.com/plumbing-services/water-filtration-installation/) * [Can a Water Heater Cause Low Water Pressure in Your Home?](https://spacecoastcooling.com/can-a-water-heater-cause-low-water-pressure/) * [FAQs | Space Coast Cooling & Plumbing, Inc.](https://spacecoastcooling.com/faq/) ## Frequently Asked Questions **My water heater is making loud popping noises. Will flushing it solve the problem?** Flushing the tank is the best first step, as those noises are caused by water trapped under a layer of sediment. Removing that layer often quiets the tank right down. However, if the sounds continue after a thorough flush, it could mean the sediment has hardened into a scale that a simple flush can't remove. It might also suggest the heating element has already been damaged from overheating, so it’s a good idea to have a professional take a look if the noise persists. **Is there a difference between draining and flushing a water heater?** Yes, and it’s an important distinction. Draining simply means emptying the water out of the tank. Flushing is an active cleaning process. After the tank is empty, you use blasts of cold water to stir up the mineral gunk settled at the bottom and wash it out completely. Just draining the tank will leave most of the heavy sediment behind, so completing the full flushing process is key to actually cleaning your heater. **I have a brand-new water heater. How long can I wait before the first flush?** Even with a new unit, it’s smart to perform the first flush after about one year. Here on the Space Coast, our hard water begins creating sediment almost immediately. Getting on an annual flushing schedule from the very beginning is the best way to prevent a thick, damaging layer from ever forming. This simple routine will keep your new heater running efficiently for years to come. **Are there any risks to flushing an older water heater myself?** There can be, yes. The main risk with an older tank that hasn't been regularly maintained is the drain valve. Over years, it can corrode or become clogged with mineral deposits. Trying to force it open or closed can cause it to break, creating a leak that you can't stop. If your heater is more than five years old and has never been flushed, it’s much safer to have a professional handle the first one. **Will installing a water softener completely eliminate the need to flush my tank?** A water softener is the most effective way to prevent sediment, as it removes the minerals before they even reach your tank. It will dramatically reduce the rate of buildup, but it may not stop it completely. Some fine debris can still settle over time. While you won't need to flush nearly as often, checking the tank every few years is still a good practice to ensure it stays in top condition.
Available 24/7

Call the Experts that Local Homeowners Rely On

When you need home services, you want answers you can trust and work you can count on. Space Coast Cooling & Plumbing is the plumbing and HVAC company in Cocoa, FL, that brings decades of local experience, licensed professionals, and customer-first service to every job. One call connects you with a team ready to help.

Licensed & InsuredServing Cocoa Since 1994Honest, Upfront PricingSame-Day Service Available