Need Help? Call Us Now!
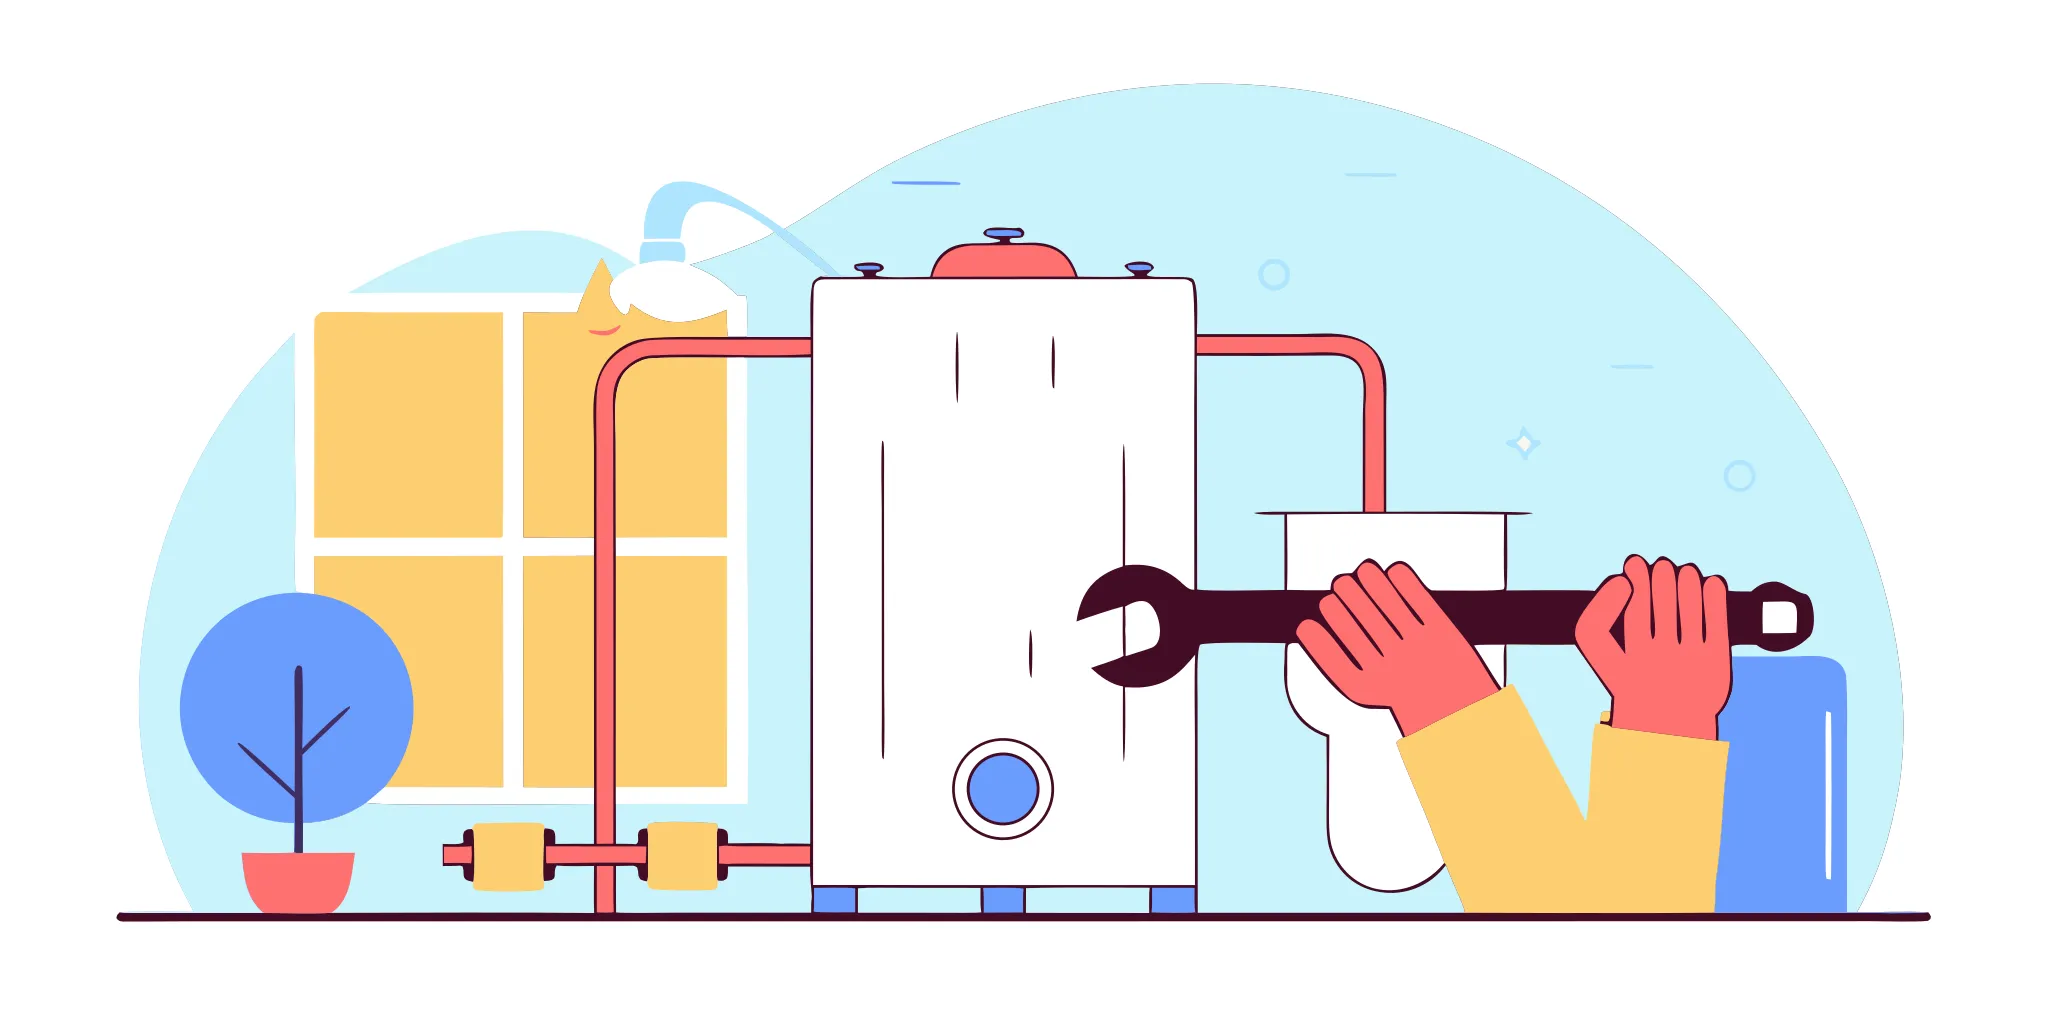
Hands using a wrench to replace a water heater anode rod.
Back to Blog
InsightsJune 26, 2026

DIY Water Heater Anode Rod Replacement Guide

Get step-by-step instructions for water heater anode rod replacement, plus tips to protect your tank and keep your hot water running efficiently.

A new water heater can be a significant investment, often costing thousands of dollars. So, what if I told you that a part costing less than a hundred dollars could potentially double its lifespan? That’s the power of the anode rod. This small component is your tank's first and best defense against internal corrosion, which is the number one killer of water heaters. Ignoring it is like never changing the oil in your car. This guide will walk you through everything you need to know about a water heater anode rod replacement, a simple project that protects your investment and keeps your hot water running for years to come. ## Key Takeaways * **Think of it as a bodyguard for your tank**: The anode rod is a sacrificial part designed to corrode so your water heater tank doesn't. Regularly replacing this inexpensive component is the most effective way to prevent internal rust, which leads to leaks and costly tank failure. * **Watch for the warning signs**: You'll know it's time for a replacement if your hot water smells like rotten eggs, looks gritty, or if a visual inspection shows the rod is worn down to a thin wire. As a general rule, plan to check it every three to five years. * **Know when to call for help**: While replacing the rod is a manageable project, it's wise to call a professional if the rod is stuck, you see signs of serious tank corrosion, or if your water heater is nearing the end of its 8 to 12 year lifespan. ## What Is a Water Heater Anode Rod (and Why Should You Care)? Let's talk about one of the most important, yet least-known, parts of your water heater: the anode rod. Think of it as a bodyguard for your water heater tank. It’s a simple component that plays a huge role in preventing rust and corrosion, which can save you from a cold shower and a costly replacement down the line. Understanding what this little rod does is the first step in extending the life of your water heater and keeping it running efficiently. It’s a small piece of maintenance that makes a big difference, especially with the type of water we have here on the Space Coast. Taking care of it helps you [protect the investment](https://www.energy.gov/energysaver/water-heating) you've made in your home's comfort system. ### How It Protects Your Water Heater Inside your water heater’s tank is a metal rod, usually made of magnesium or aluminum. This is the anode rod, and it has one critical job: to sacrifice itself for the greater good of your water heater. The water in our area contains minerals and other elements that cause steel to rust. The anode rod is made of a more reactive metal, so it attracts these corrosive elements and corrodes away instead of your tank's inner lining. This electrochemical process essentially tells rust-causing particles to attack the rod, not the expensive tank it's protecting. It’s a simple but brilliant piece of engineering designed to keep your tank safe. ### What Happens When It Wears Out Because the anode rod is designed to corrode, it has a limited lifespan. Over a few years, it will get completely eaten away. Once it’s gone, those corrosive elements in the water need a new target, and they’ll go straight for the steel walls of your water heater tank. This is when rust begins to form on the inside of the tank itself, leading to weak spots, leaks, and eventually, total failure. Ignoring a worn-out anode rod is one of the fastest ways to shorten your water heater’s life, turning a simple maintenance task into a much bigger problem that often requires a full water heater replacement. ## Signs It's Time to Replace Your Anode Rod Your water heater is pretty good at telling you when something’s wrong; you just have to know what to look for. While the anode rod is a small and inexpensive part, ignoring it can lead to a catastrophic tank failure and a flooded garage. Catching the signs early saves you from a much bigger headache and a more expensive repair bill down the road. Luckily, the clues are usually straightforward. You can spot them by performing a quick visual check, paying attention to your water quality, or keeping an eye on your heater's age and overall performance. If you notice any of the following signs, it’s a strong signal that your anode rod needs attention. ### Check the Rod for Wear and Tear The most definitive way to know if your anode rod is spent is to look at it. We recommend pulling it out for a visual inspection once a year. When you remove the rod, look for significant corrosion. If it’s covered in gunk, looks pitted and crusty, or has been worn down to the thin steel core wire, it’s no longer doing its job. A healthy anode rod is thick and even; a dying one looks like it’s been through a battle. If you see that the rod is mostly gone, it’s time for a replacement, no question. Understanding [what anode rods do](https://www.uswhpro.com/anoderods101) makes it clear why a worn-out one is a major problem for your tank's longevity. ### Notice Changes in Your Water Is your hot water starting to smell like rotten eggs? That’s one of the most common signs of a failing anode rod. The odor comes from a reaction between bacteria and the magnesium or aluminum in the rod, creating smelly sulfur gases. While it’s not harmful, it’s certainly unpleasant. You might also notice that your water looks sandy or gritty, which could be particles of sediment or rust from inside the tank. Another clue is if your faucet aerators are getting clogged more often than usual. These are all signs that corrosion is happening inside your tank because the anode rod can no longer protect it. ### Look at Your Heater's Age and Utility Bills As a rule of thumb, you should plan to replace your anode rod every three to five years, even if you don’t see any obvious signs of trouble. This simple bit of preventive maintenance can dramatically extend the life of your water heater. Once the rod is completely gone, the corrosive elements in the water will begin to attack the steel tank itself, leading to rust, leaks, and an inevitable, and often premature, water heater replacement. A less obvious sign can be a sudden jump in your energy bills. As sediment builds up in the tank (a problem a failing anode rod contributes to), your heater has to work harder to heat the water, using more energy in the process. ## How to Choose the Right Replacement Anode Rod Picking the right anode rod is one of the most important parts of this project. It’s not just about grabbing any replacement off the shelf; the material and type you choose directly impact how well it protects your tank and how long it will last. Think of it as choosing the right tool for the job. Making a smart choice here will save you from headaches and premature water heater failure down the road. ### Magnesium, Aluminum, or Zinc: What's the Difference? Anode rods are not all made from the same material, and the right one for you depends on your water quality. Magnesium rods are the most common and work great in homes with balanced, healthy water. If your home has very hard water, an aluminum rod is often a better fit. However, if you have a water softener, an aluminum rod can sometimes react with the water and create an unpleasant smell. If you’re already dealing with a "rotten egg" odor from your hot water, an aluminum-zinc alloy rod is specifically designed to combat that sulfur smell. For a long-term solution, you might also consider a powered anode rod, which uses a small electrical current and can protect your tank for up to 20 years without needing another replacement. ### Picking the Best Rod for Florida's Water Here in Florida, our water quality can vary quite a bit from one neighborhood to the next. Many homes have either very hard water or use a water softener to treat it. Both of these conditions can cause a standard anode rod to wear out much faster than usual. When the rod depletes quickly, your tank is left vulnerable to rust and corrosion. That’s why selecting the right material is so critical for extending the life of your water heater. If you’re unsure about your water type or which rod is best, our team can help you make the right choice for your home’s specific needs during a [water heater service call](https://spacecoastcooling.com/plumbing-services/water-heater-installation-replacement/). ### Check for Compatibility with Your Tank Before you buy anything, take a moment to confirm the new rod will fit your water heater. Anode rods are long metal rods that screw into a dedicated port on the top of the tank. Check your owner’s manual or the manufacturer’s website to find the correct size and type for your model. Some larger tanks may even have two rods. Another thing to consider is the clearance above your water heater. If you have low ceilings or the tank is tucked into a tight closet, you may not have room to install a long, rigid rod. In that case, a flexible, chain-like anode rod that can be bent into place is the perfect solution. ## Gather Your Tools and Supplies Alright, let's get you ready for the job. Like any successful project, this one starts with good preparation. Taking a few minutes to gather everything you need beforehand will save you from making frantic trips to the hardware store with your water shut off. We’ll walk through the tools, the new anode rod, and the crucial safety steps to take before you even think about touching that wrench. Getting organized now means you’ll be done faster and can get back to enjoying that hot shower. ### Your Tool Checklist You don't need a professional-grade workshop for this, but a few specific tools are non-negotiable. The most important player here is a **1-1/16 inch socket wrench**. Many anode rods have a hex head this size, so it's essential for getting a grip. I also recommend getting a **socket extension and a breaker bar**, as these rods can be very tight from the factory and years of sitting. You’ll thank me later when you need that extra leverage. You'll also want a **garden hose** and a **bucket** for draining a bit of water from the tank. Having these items ready will make the entire process go much more smoothly. ### Necessary Materials Obviously, you can't do this job without the main component: the new anode rod. As we covered earlier, this is a steel core rod coated in a sacrificial metal like magnesium, aluminum, or zinc. If you haven't purchased one yet, make sure you get the right type for our Florida water conditions and one that’s compatible with your tank model. A new rod will typically cost between $50 and $150. It’s also a good idea to have some [plumber's tape](https://www.homedepot.com/p/OATEY-1-2-in-x-260-in-PTFE-Tape-31270D/202280370) (also called Teflon tape) on hand to wrap the threads of the new rod. This helps create a watertight seal and prevents leaks down the road. ### Important Safety Precautions This is the most important part of your prep work, so please don’t skip it. First, you need to cut the power and water. For an **electric water heater**, go to your home’s breaker box and flip the switch for the water heater to OFF. For a **gas water heater**, turn the thermostat dial to the "Pilot" or "Vacation" setting. Next, find the cold water inlet pipe on your heater and turn the shutoff valve to stop water from entering the tank. Finally, connect a hose to the drain valve and empty a few gallons into a bucket. This relieves pressure in the tank and prevents a watery mess when you remove the old rod. ## A Step-by-Step Guide to Replacing Your Anode Rod Alright, you’ve done your homework, picked out a new anode rod, and gathered your tools. Now it’s time for the main event. Replacing your water heater’s anode rod is a totally manageable DIY project that can save you a lot of money and headaches down the road. The key is to work safely and methodically. Before you start unscrewing anything, read through these steps to get a clear picture of the entire process. This guide will walk you through everything from shutting down the system to turning it all back on again. Remember, safety is the most important part of any home project. If you feel unsure at any point, especially when dealing with electrical or gas lines, don't hesitate to stop and call a professional. We’re always here to help. But if you’re ready to tackle it yourself, let’s get started. ### Step 1: Shut Off the Power and Water First things first: safety. You must cut all power and water to the heater before you do anything else. For an electric water heater, find the corresponding breaker in your home’s electrical panel and switch it to the “Off” position. If you’re not sure which one it is, you can turn off the main breaker to be safe. For a gas water heater, you’ll need to turn the gas valve to the “Off” position and set the temperature dial to “Pilot” or “Vacation.” Next, locate the cold water shut-off valve, which is usually a lever or knob on the pipe leading into your tank, and turn it off completely. ### Step 2: Drain Some Water from the Tank You don’t need to drain the entire tank, just enough to lower the water level below the anode rod connection and relieve the pressure inside. Attach a standard garden hose to the drain valve near the bottom of the water heater. Place the other end of the hose in a floor drain or run it outside, making sure it’s lower than the tank itself. Open the drain valve and also open a hot water faucet somewhere in your house. This lets air into the system and helps a few gallons of water drain out smoothly. Once you’ve drained about five gallons, you can close the valve. ### Step 3: Remove the Old Anode Rod Now for the moment of truth. The anode rod is located on top of the tank, and it looks like a large hexagonal nut. You may need to remove a plastic cap to see it. Using a 1 1/16-inch socket wrench and a breaker bar for extra leverage, turn the nut counter-clockwise to loosen it. This can be the toughest part of the job, as the rod can be very tight or corroded in place. Be prepared to use some muscle. Once it breaks free, you can unscrew it the rest of the way and carefully lift the old rod straight out of the tank. ### Step 4: Inspect the Tank and Old Rod With the old rod out, take a good look at it. Does it look like a thin wire with chunks missing? Is it covered in calcium buildup and heavily pitted? If so, you can feel good knowing you’re replacing it right on time. This is also a good opportunity to peek inside the tank opening with a flashlight. You can check for excessive sediment or signs of rust and corrosion on the tank’s interior lining. Seeing what the old rod looks like will confirm that this bit of maintenance was well worth the effort and is actively protecting your tank from premature failure. ### Step 5: Install the New Anode Rod Time to put in the new part. If your new anode rod didn’t come with sealant on the threads, wrap them with three or four layers of plumber’s tape in a clockwise direction. This helps create a watertight seal. Carefully lower the new rod into the tank opening and begin threading it by hand to make sure it isn’t cross-threaded. Once it’s hand-tight, use your socket wrench to tighten it another half-turn or so until it’s snug. You want it to be secure, but there’s no need to overtighten it and risk damaging the threads. ### Step 6: Refill the Tank and Restore Power You’re in the home stretch! Close the drain valve at the bottom of the tank if you haven't already and remove the hose. Turn the cold water supply back on to begin refilling the tank. Leave the hot water faucet you opened earlier running. You’ll hear it sputter as air escapes the system. Once you have a steady, splash-free stream of water, the tank is full, and you can turn off the faucet. Now, and only now, is it safe to restore power at the circuit breaker or turn the gas supply back on. Double-check for any leaks around the new anode rod, and you’re all set. ## Know When to Call a Professional While tackling a DIY project like this can be incredibly satisfying, it’s also important to know your limits. Some situations are better and more safely handled by a professional. There’s no shame in hanging up your tool belt and calling for backup, especially when a simple task turns complicated. Messing up a water heater repair can lead to leaks, water damage, or even a complete system failure, turning a small weekend project into a major headache. If you run into any of the following issues, it’s a clear sign to put down the wrench and pick up the phone. ### The Rod Is Stuck or Hard to Remove You’ve followed the steps, but the anode rod just won’t budge. This is a very common problem. Years of corrosion can essentially weld the rod into place, making it nearly impossible to remove with a standard wrench. Applying too much force can damage the fitting or even the tank itself. You might also find there isn’t enough overhead clearance to pull the old rod out in one piece. Our technicians have specialized tools for these exact scenarios, including flexible, segmented rods for tight spaces. If you’re struggling, save yourself the frustration and potential damage by scheduling a water heater service. ### You See Signs of Serious Tank Corrosion When you finally get the old rod out, take a good look at it and inside the tank opening. If the rod has been completely eaten away or if you see significant rust and flaking metal inside the tank, you may have a bigger problem. An anode rod’s job is to sacrifice itself for the tank. Once it’s gone, the tank itself begins to corrode from the inside out. At this point, simply installing a new rod might not be enough to save it. A professional can inspect the tank’s integrity and give you an honest opinion on whether a repair is sufficient or if a new water heater is a more reliable long-term solution. ### Your Water Heater Is Nearing the End of Its Life Most tank water heaters have a lifespan of about 8 to 12 years. If your unit is getting up there in age, you have to ask if replacing the anode rod is a worthwhile investment. While it can extend the life of the tank, it won’t fix other age-related issues that might be just around the corner. A professional can assess the overall condition of your water heater and help you decide if a simple repair makes sense or if you’d be better off putting that money toward a new, more efficient unit. We can help you explore your options, including available [financing for new systems](https://www.spacecoastcooling.com/financing/). ### You're Unsure About Any Step Confidence is key in any DIY project, but when it comes to plumbing and electrical systems, uncertainty is a sign to stop. If at any point you feel unsure about what to do next, it’s time to call for help. Guessing can lead to costly mistakes, from improper connections that cause leaks to safety hazards involving your home’s power supply. Your peace of mind is worth everything. Our licensed and certified technicians are here to get the job done right, ensuring your water heater is working safely and efficiently. Don’t hesitate to [contact us](https://www.spacecoastcooling.com/contact-us/) for support; we’re always happy to help. ## Related Articles * [Can a Water Heater Cause Low Water Pressure in Your Home?](https://spacecoastcooling.com/can-a-water-heater-cause-low-water-pressure/) * [Expert Water Heater Installation & Replacement Cocoa, FL](https://spacecoastcooling.com/plumbing-services/water-heater-installation-replacement/) * [Professional Water Heater Repair Cocoa, FL](https://spacecoastcooling.com/plumbing-services/water-heater-repair/) * [Are HVAC Maintenance Plans Worth It? What to Know](https://spacecoastcooling.com/are-hvac-maintenance-plans-worth-it/) ## Frequently Asked Questions **How often should I actually check my anode rod?** A great rule of thumb is to perform a visual inspection once a year. It’s an easy task to add to your annual home maintenance checklist. While the rod itself typically needs replacing every three to five years, an annual checkup lets you see how quickly it’s corroding. This gives you a much better idea of your specific timeline and helps you catch a problem before it starts. **My hot water smells like rotten eggs. Will a new anode rod really fix that?** Yes, that sulfur smell is a very common sign that your anode rod needs attention. The odor is usually caused by a chemical reaction between bacteria in the water and the rod’s magnesium or aluminum material. The best solution is to replace your current rod with an aluminum-zinc alloy rod, which is specifically designed to neutralize that reaction and eliminate the smell. **Is it safe for me to replace the anode rod myself?** For many homeowners who are comfortable with basic plumbing tasks, this is a manageable project. The most important steps are shutting off the power and water supply correctly. The biggest challenge is often just getting the old rod loose, as it can be very tight. If you feel at all uncertain, especially about the electrical or gas components, calling a professional is the safest and most stress-free option. **What if I don't have enough ceiling space to pull the old rod out?** This is a very common issue, especially for water heaters tucked away in closets or under stairs. The solution is a flexible anode rod. These are designed like a chain of smaller rod segments linked by a wire, so you can bend it as you feed it into the tank. It provides the same protection as a rigid rod but makes installation possible in tight quarters. **Will replacing the anode rod myself affect my water heater's warranty?** Generally, no. In fact, most manufacturer warranties require you to perform routine maintenance, and replacing the anode rod is a key part of that. However, any damage caused by an improper installation, like cross-threading the connection or failing to seal it properly, could potentially void your warranty. If you want to be certain the job is done right and your warranty stays protected, having a professional handle it is always a safe bet.
Available 24/7

Call the Experts that Local Homeowners Rely On

When you need home services, you want answers you can trust and work you can count on. Space Coast Cooling & Plumbing is the plumbing and HVAC company in Cocoa, FL, that brings decades of local experience, licensed professionals, and customer-first service to every job. One call connects you with a team ready to help.

Licensed & InsuredServing Cocoa Since 1994Honest, Upfront PricingSame-Day Service Available