
Need Help? Call Us Now!
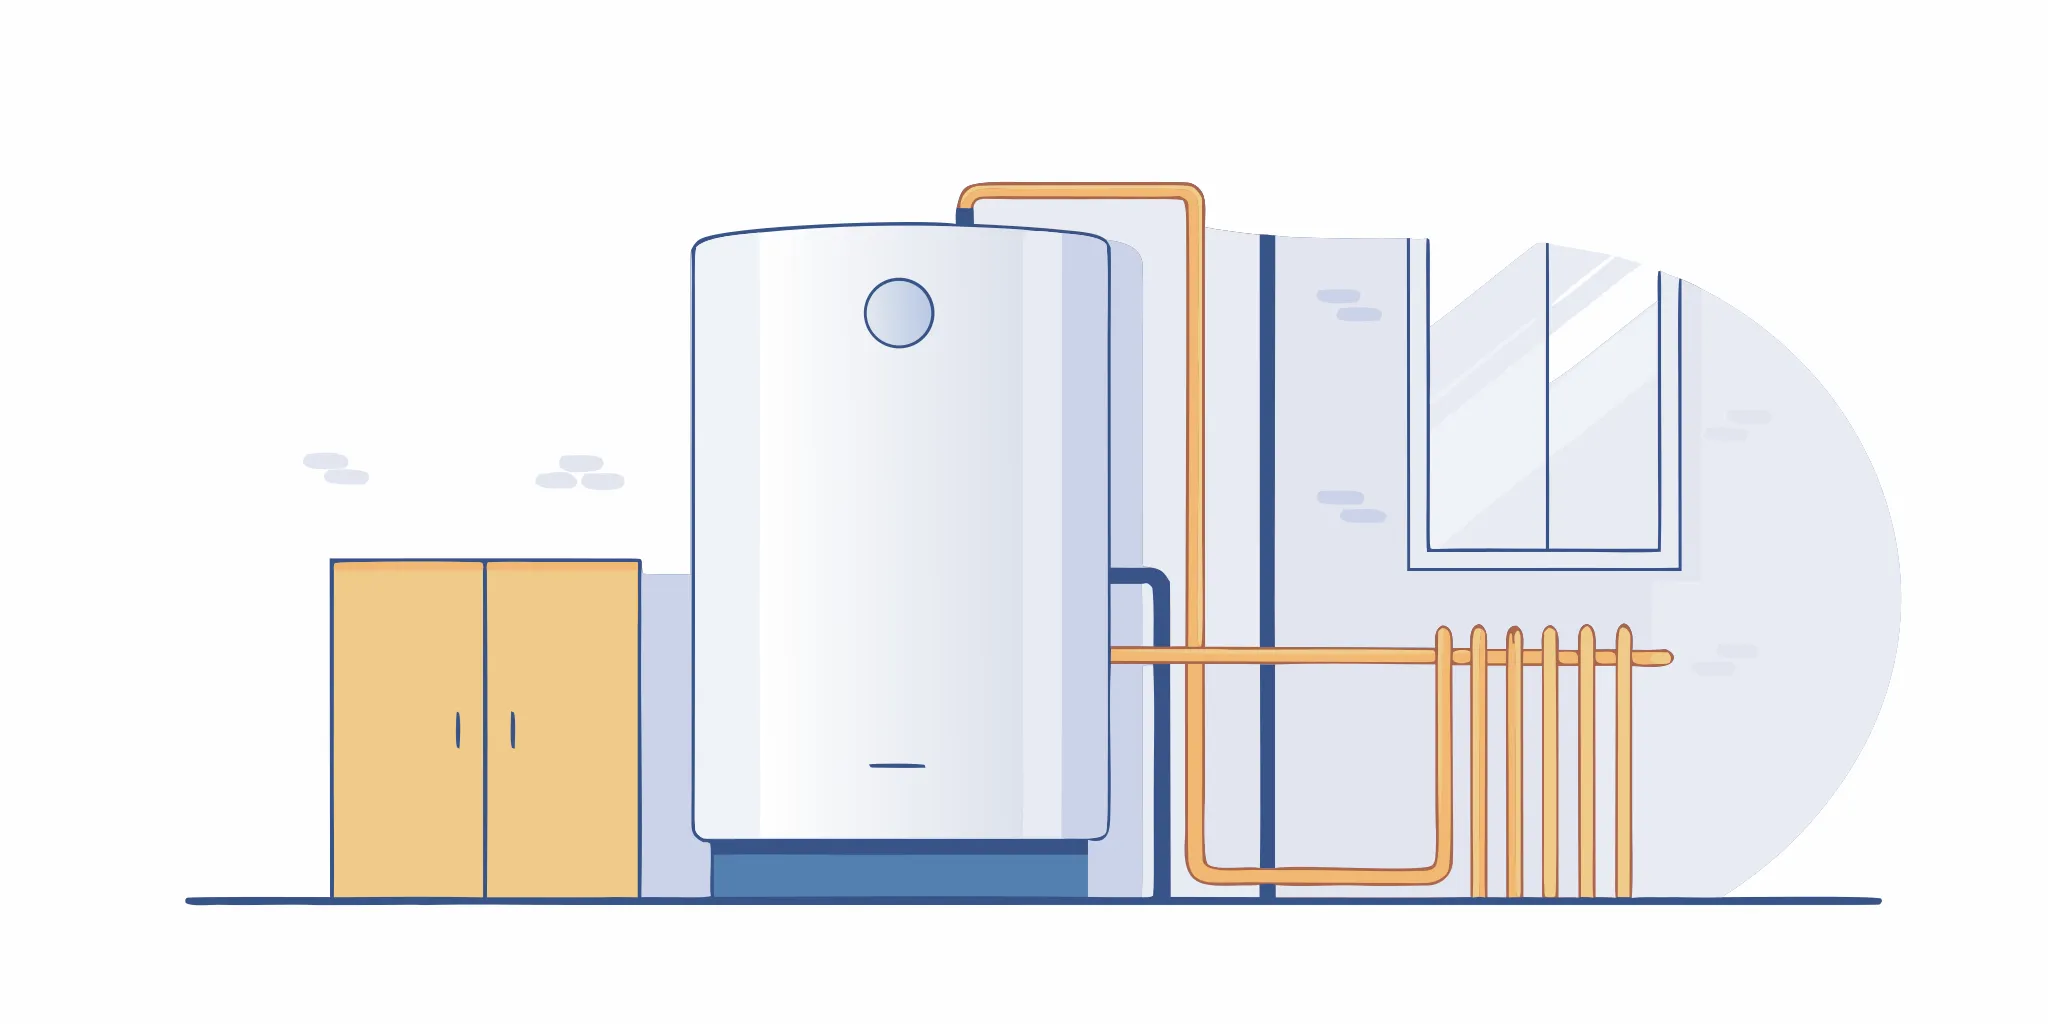
A residential water heater with a potential leak at the bottom connections.
Back to Blog
InsightsJune 11, 2026

Water Heater Leaking from Bottom? 5 Steps to Take Now

Worried about your water heater leaking from bottom? Learn 5 clear steps to find the cause, prevent damage, and decide if you need repair or replacement.

That sinking feeling you get when you spot a puddle on the floor is something no homeowner wants to experience. If you’ve confirmed you have a **water heater leaking from the bottom**, you’re likely worried about potential water damage and the cost of a fix. Many homeowners I talk to immediately assume they need a full replacement, but that’s often not the case. Many leaks are caused by small, repairable parts like a faulty drain valve or T\&P valve. This article is designed to give you peace of mind by showing you how to investigate the problem safely and understand the most common culprits, helping you determine if you’re looking at a simple DIY fix or a job for a professional. ## Key Takeaways * **Identify the leak's origin first**: Water dripping from a valve is often a simple fix, but water seeping from the tank itself means it's time for a replacement. * **Know when to repair versus replace**: Simple valve leaks on a younger unit are worth repairing; however, if the tank is corroded or over 10 years old, investing in a new heater is the smarter financial decision. * **Prevent future leaks with simple maintenance**: Flushing the tank annually to remove sediment and scheduling a professional inspection are the two best ways to extend your water heater's lifespan and avoid unexpected failures. ## Why Is My Water Heater Leaking from the Bottom? Finding a puddle of water under your [water heater](https://spacecoastcooling.com/plumbing-services/water-heater-repair/) is never a welcome sight. It’s easy to jump to the worst-case scenario, but a leak from the bottom doesn’t always mean you need a brand-new unit. The source of the water could be anything from a simple loose valve to a more serious internal problem. Before you panic, it helps to understand the most common culprits. We’ll walk through the four main reasons your ### Corroded Tank or Sediment Buildup If water is seeping directly from the bottom of the tank itself, it often points to internal corrosion. Here in Florida, our water contains minerals that can settle at the bottom of your tank over time. This layer of sediment can cause the unit to overheat, slowly damaging the tank’s inner lining. Eventually, this can lead to rust and a full-blown leak. Unfortunately, a corroded tank can't be patched up; it’s a sign that the structural integrity is gone. At this point, a full replacement is the only safe solution to prevent a much bigger flood. ### A Faulty T\&P Valve Your water heater has a critical safety device called the Temperature and Pressure (T\&P) relief valve. It’s usually located on the top or side of the tank and has a pipe that runs down toward the floor. Its job is to release water if the temperature or pressure inside gets dangerously high. If you see water dripping from the end of this pipe, the valve is either doing its job correctly or it has failed. While the water pools at the bottom, the leak is actually coming from the valve up above. A professional can determine if there’s an underlying pressure issue or if you just need a simple valve replacement. ### A Loose or Damaged Drain Valve At the very bottom of your water heater, you’ll find a drain valve that looks like a small spigot. This valve is used to flush sediment out of the tank. Over time, the valve can become loose, or its washer can wear out, causing a slow but steady drip. In some cases, the plastic valve itself can crack. The good news is that this is often an easy fix. Sometimes, all it takes is a gentle tightening with a wrench to stop the leak. If that doesn't work, replacing the drain valve is a straightforward repair that doesn't require replacing the entire water heater. ### Is It a Leak or Just Condensation? In Florida's humid climate, what looks like a leak might just be condensation. This is especially common with gas water heaters located in cooler spaces like a garage. As the heater runs, moisture from the air can condense on the cooler surfaces of the tank and its fittings, dripping down to form a puddle at the base. To check, carefully wipe the tank and the floor dry. Then, watch to see if moisture beads up again on the outside of the tank or if it’s clearly dripping from a valve or seam. If it’s just condensation, you can breathe a sigh of relief. ## 5 Steps to Safely Diagnose the Leak Okay, you've spotted a puddle. Before you panic, let's do a little detective work. Figuring out where the water is coming from is the key to knowing what to do next. These five steps will help you safely diagnose the problem. Your safety is the top priority, so the first two steps are about securing the area before you even start looking for the source. Remember, if you feel unsure at any point, don't hesitate to stop and call for [professional water heater service](https://spacecoastcooling.com/plumbing-services/water-leak-detection-repair/). It's always better to be safe. But if you're ready to investigate, grab a towel and a flashlight, and let's walk through it together. ### Step 1: Cut the Power or Gas First things first, we need to make the area safe. Water and electricity are a dangerous combination, and a gas leak is even more serious. Before you do anything else, you must cut the power or gas supply to your water heater. For an electric model, find the corresponding breaker in your home's electrical panel and flip it to the "off" position. For a gas water heater, look for the gas shutoff valve on the pipe leading to the unit. Turn the valve a quarter turn so it's perpendicular to the pipe. This stops the flow of gas. This step is non-negotiable and protects you from shock or a potential gas issue while you investigate. ### Step 2: Shut Off the Water Supply Now that the energy source is off, let's stop more water from feeding the leak. Locate the cold water inlet pipe, which is usually at the top of your water heater. You'll find a shutoff valve on this pipe, which might be a knob you turn or a lever-style handle. Turn the valve clockwise until it stops, or move the lever so it's perpendicular to the pipe. This will prevent any new water from entering the tank, giving you a chance to deal with the water that has already leaked out and find the source without making the puddle bigger. ### Step 3: Dry and Inspect the Area With the power and water off, it's time to clean up. Use a few old towels or a mop to completely dry the floor around the base of the water heater. A dry surface is your canvas for finding the leak's true origin. Once the area is dry, keep a close eye on it. Where does the water reappear first? Is it a slow drip from a specific valve, or does it seem to be seeping from underneath the tank itself? Using a flashlight can help you spot drips and trace water trails back to their source. This simple step is often the most revealing part of the whole process. ### Step 4: Check the Valves First Most leaks originate from the connections and valves on your water heater, which is often good news because these parts can usually be repaired or replaced. Start by inspecting the Temperature & Pressure (T\&P) relief valve, which is typically on the side or top of the tank with a pipe running down. Look for drips from the valve or the attached pipe. Next, check the drain valve at the very bottom of the tank. Is it dripping? Sometimes these plastic valves can crack or fail to close completely after being used. A leak from either of these valves is a much simpler fix than a problem with the tank itself. ### Step 5: Look for Rust or Damage on the Tank This is the final check. Carefully inspect the bottom of the tank itself. If you've dried the area and confirmed the water isn't coming from the T\&P or drain valves, but is instead seeping from underneath the metal jacket of the tank, it's a bad sign. This almost always means the inner tank has rusted through and failed. You might see rust streaks or corrosion on the bottom of the unit. Unfortunately, a corroded tank cannot be repaired. This kind of leak is a clear signal that your water heater has reached the end of its life and you'll need a full replacement. ## Should You Repair or Replace Your Water Heater? Figuring out whether to repair or replace your water heater is a big decision. A new unit is a significant investment, but sinking money into an old, failing one isn’t smart either. The right choice depends on a few key factors: the source of the leak, the age of your unit, and the cost of the repair. Let’s walk through how to decide. ### When a Simple Repair Will Do Before you panic, know that not every leak spells doom for your water heater. If you see a puddle, the first step is to find where the water is coming from. A leak from the drain valve at the bottom of the tank can often be fixed by simply tightening it or replacing the valve itself. Sometimes, water is leaking from a fitting or pipe higher up and just running down the side, making it look like the tank is the problem. If the issue is a faulty valve or a loose connection, you’re likely looking at a straightforward and affordable repair. ### Signs It's Time for a Replacement The bad news is that some leaks are non-negotiable signs that your water heater is done. If you can see water seeping directly from the metal tank itself, either from a seam or through the bottom, it means the inner tank has rusted through. This is an internal failure, and unfortunately, it cannot be repaired. At this point, the only solution is to replace the entire water heater. Continuing to use it risks a much bigger, more damaging leak, so it’s important to act quickly once you’ve confirmed the tank itself has failed. ### How Age and Corrosion Impact Your Decision The age of your water heater is a major clue. Most tank water heaters have a lifespan of about 8 to 12 years. If your unit is approaching or has passed that age, replacement often makes more sense than repair, even for smaller issues. Pouring money into fixing an old unit can become a cycle of one repair after another. If your older heater is leaking due to rust or corrosion, it’s a clear signal that it’s time to start looking at new, more efficient models instead of putting a temporary patch on a long-term problem. ## Can You Fix It Yourself? When you find a puddle under your water heater, your first instinct might be to grab a wrench and get to work. I completely get it. As a homeowner, being self-sufficient feels great, and some water heater leaks are genuinely simple fixes you can handle yourself. If the issue is just a loose connection, a quick tightening might be all you need to solve the problem and get on with your day. However, it’s crucial to know where the line is between a manageable DIY task and a job that needs a professional. A mistake with a water heater can lead to more than just a bigger leak; it can cause significant water damage or create a safety hazard. This guide will walk you through a few common repairs that might be within your reach, but we’ll also be very clear about when it’s time to put the tools down and call for backup. The most important rule? If the tank itself is rusted and leaking, it’s not a repair job, it’s a replacement, and that’s a project for the pros. ### Tightening or Replacing the Drain Valve At the bottom of your water heater tank, you’ll find a small spigot, that’s the drain valve. It’s used to empty the tank for maintenance or replacement. Over time, these valves can become loose, or if they’re made of plastic, they can get brittle and crack, causing a slow leak. Your first move is to gently tighten the valve with a wrench. Use a light touch, because overtightening can break the valve, especially if it's plastic. If a gentle tightening doesn't stop the drip, the valve itself likely needs to be replaced. While this is a possible DIY project, it does require you to drain the entire tank first, which can be a time-consuming and messy process. If you’re not comfortable with that, or if the valve seems stuck or breaks during your attempt, it’s best to call a plumber. ### Swapping Out the T\&P Relief Valve The Temperature and Pressure (T\&P) relief valve is a critical safety component, usually located on the top or side of your tank with a pipe running down from it. Its job is to open and release water if the temperature or pressure inside the tank gets dangerously high. If you see water dripping from its discharge pipe, it means one of two things: the valve is doing its job and you have a serious pressure problem, or the valve itself has failed. If the valve is just dripping slowly, it may have a weak seal and need replacement. For a confident DIYer, swapping it out is possible. However, if water is gushing out, it’s an emergency. Shut down the power and water to the heater immediately and call for [24/7 emergency service](https://www.spacecoastcooling.com/contact-us/). Don’t try to fix or cap it yourself, as that could lead to a catastrophic tank failure. ### Checking the Anode Rod Inside your water heater tank is a part you’ve probably never seen: the anode rod. This is a long metal rod made of aluminum or magnesium that is designed to corrode over time. Essentially, it sacrifices itself to protect the steel tank from rusting. Once the anode rod is completely eaten away, the water will start corroding the tank itself, leading to rust spots and eventually, leaks. Checking and replacing the anode rod is a key part of preventative water heater maintenance. However, if your tank is already leaking from the bottom due to rust, it’s too late for the anode rod to help. A corroded tank can’t be repaired. While you can check the anode rod yourself, they can be very difficult to remove, often requiring a special socket and a lot of force. ### Know Your Limits: When to Stop a DIY Project The most important skill for any DIYer is knowing when to call it a day. With water heaters, the line is very clear: if the leak is coming from the main tank, the project is no longer a repair. It’s a replacement. A rusted, leaking tank cannot be patched or sealed, and trying to do so is just delaying the inevitable flood. Any signs of corrosion, deep rust spots, or bulging on the tank itself are red flags that mean the structural integrity is compromised. Working with water heaters involves water, electricity or gas, and potentially high pressure. A mistake can be costly and dangerous. If you’ve tried the simple fixes and the leak persists, or if you feel even slightly unsure about a step, that’s your cue to call a professional. It’s always better to be safe and have the job done right. ## When to Call a Professional Plumber While some water heater issues are simple enough to handle on your own, certain problems are clear signals that it’s time to step back and call in a professional. Knowing the difference can save you from a major headache, a flooded utility closet, and expensive secondary repairs. If you’re facing a leak that isn’t coming from a simple loose connection, it’s always safer to get an expert opinion. A licensed plumber can not only fix the immediate problem but also ensure your system is safe and up to code. ### Warning Signs That Require an Expert The most urgent red flag is water leaking directly from the bottom of the tank itself. This isn't a drip from a valve; it's a sign that the inner tank has rusted through. Unfortunately, once this happens, the tank cannot be repaired and the entire unit must be replaced. Trying to patch it is not an option and will only delay the inevitable. Even what seems like a small leak can quickly lead to significant water damage, mold growth, and higher utility bills if left unaddressed. Other serious warning signs include a complete loss of hot water, loud popping or rumbling sounds coming from the tank, or discolored, rusty water at your faucets. These symptoms point to internal problems like excessive sediment buildup or a failing heating element. Don't wait for the problem to get worse. If you notice any of these issues, it's time to [schedule a service call](https://www.spacecoastcooling.com/contact/) with a trusted plumber who can accurately diagnose the issue and prevent further damage to your home. ### How to Spot Hidden Water Damage A puddle on the floor is the most obvious sign of a leak, but the damage often extends far beyond what you can see. You need to act quickly to prevent serious water damage from spreading. Even a small, slow leak can saturate drywall, warp baseboards, and seep into your subfloor over time, creating the perfect environment for mold and mildew to grow. A musty smell around your water heater is a telltale sign that moisture has been lingering for a while. Take a moment to inspect the area surrounding your water heater. Look for darkened or soft spots on the walls, peeling paint, or flooring that feels spongy or warped. If your water heater is in a closet or on a finished floor, these signs can be subtle at first. If you suspect a slow leak has been happening for some time, a professional can assess the full extent of the damage using specialized tools. This helps ensure you’re not just fixing the heater but also addressing any hidden moisture problems before they become major structural issues. ## How to Choose Your Next Water Heater If you’ve decided a replacement is the right move, the process can feel like a big task. But think of it this way: it’s an opportunity to get a system that’s a perfect fit for your home, your family, and your budget. A good water heater should be reliable and efficient, providing all the hot water you need without sending your energy bills through the roof. Let’s walk through the key things to consider so you can feel confident in your choice. ### Tank vs. Tankless: What's Best for Your Home? The first big decision is whether to stick with a traditional tank heater or switch to a tankless model. A conventional tank heater stores a large volume of hot water, usually 40 to 50 gallons, so it’s ready when you need it. They have a lower upfront cost and the technology is familiar to most homeowners. A tankless water heater, on the other hand, heats water on demand as you turn on the faucet. This makes them incredibly energy-efficient since they aren’t constantly working to keep a tank of water hot. They also take up much less space. The trade-off is a higher initial investment, but the long-term energy savings can often make up for it. ### What to Look for in Brands and Warranties When you start looking at specific models, you’ll see a lot of talk about warranties. This is where you need to pay close attention. A manufacturer’s warranty might sound great, but it often only covers the cost of the replacement part, not the professional labor needed to install it. It’s also important to know that most warranties require the unit to be professionally installed and maintained to remain valid. A [home warranty](https://arwhome.com/blog/does-a-home-warranty-cover-water-heater-replacement) can sometimes offer additional protection, but the coverage details vary. We can help you understand the fine print so there are no surprises down the road. ### Making Your New Heater More Affordable A new water heater is a significant investment, but there are ways to manage the cost. First, remember that a more energy-efficient model will save you money every month on your utility bills, which adds up over time. We also believe that you shouldn't have to choose between your budget and a safe, reliable home. That’s why we offer flexible [financing options](https://www.spacecoastcooling.com/financing/) to help you get the right system for your home without the financial strain. We can walk you through the application process and find a plan that works for you, ensuring you get the hot water you need, when you need it. ## Simple Maintenance to Prevent Future Leaks The best way to handle a leaking water heater is to prevent the leak from ever happening. A little proactive maintenance goes a long way in extending the life of your unit and keeping your home dry. Think of it like a regular check-up; these simple steps can help you catch small issues before they turn into a major, floor-soaking emergency. By spending a little time on your water heater each year, you can protect your investment and enjoy reliable hot water without the worry. ### Flush Your Tank Annually Over time, minerals like calcium and magnesium settle at the bottom of your water heater tank, creating a layer of sediment. This buildup can cause the tank to overheat, reduce its efficiency, and eventually lead to corrosion and leaks. Flushing your tank once a year is the best way to clear out this gunk. The process involves turning off the power and water, connecting a hose to the drain valve, and letting the water drain out until it runs clear. For homeowners in Florida, where hard water is common, this annual task is especially important for maintaining the different [types of water heaters](https://www.selecthomewarranty.com/blog/types-of-water-heaters) and preventing premature failure. ### Inspect the Anode Rod Regularly Inside your water heater tank is a component called an anode rod, and it has one job: to sacrifice itself for the good of the tank. This rod is made of a more reactive metal that attracts corrosive elements in the water, essentially drawing corrosion away from the tank walls. Once the anode rod is completely corroded, your tank itself becomes the next target. Checking this rod every year or two and replacing it when it’s worn down can dramatically extend the life of your water heater. It’s a small, inexpensive part that protects a much larger investment, and keeping it in good shape is often a requirement for many [water heater warranties](https://www.surebright.com/blog/your-standard-water-heater-warranty-probably-doesnt-cover-what-you-think-it-does). ### Keep Your Temperature Settings in Check It can be tempting to crank up the heat, but setting your water heater’s thermostat too high is inefficient and risky. Most experts and manufacturers agree that 120°F is the ideal temperature. This setting is hot enough for all your household needs without posing a significant scalding risk. It also reduces the strain on the tank by preventing excessive heat and pressure buildup, which can weaken seals and lead to leaks over time. As a bonus, lowering the temperature from a factory setting of 140°F can also save you money on your energy bills. This simple adjustment is a win for both your safety and your wallet, regardless of which [water heater brands](https://epb.com/get-connected/energy-tips/most-popular-water-heater-brands-2026) you prefer. ### Schedule a Professional Tune-Up While the DIY steps above are fantastic for routine care, they don’t replace the trained eye of a professional. Scheduling an annual tune-up with a licensed plumber is the surest way to keep your water heater running safely and efficiently. A professional can spot subtle warning signs you might miss, test the T\&P valve, check electrical connections, and perform a more thorough inspection of the entire system. This regular maintenance helps identify potential issues before they become serious problems. It’s a small investment that provides peace of mind and ensures you get the most out of your unit, which is especially important when considering if a [home warranty covers water heater replacement](https://arwhome.com/blog/does-a-home-warranty-cover-water-heater-replacement). ## Related Articles * [Can a Water Heater Cause Low Water Pressure in Your Home?](https://spacecoastcooling.com/can-a-water-heater-cause-low-water-pressure/) * [Professional Water Heater Repair Cocoa, FL](https://spacecoastcooling.com/plumbing-services/water-heater-repair/) * [Expert Water Heater Installation & Replacement Cocoa, FL](https://spacecoastcooling.com/plumbing-services/water-heater-installation-replacement/) * [Trusted Water Leak Detection & Repair Cocoa, FL](https://spacecoastcooling.com/plumbing-services/water-leak-detection-repair/) ## [Frequently Asked Questions](https://spacecoastcooling.com/faq/) **Is a small leak really a big deal?** I know it’s tempting to put a towel down and hope for the best, but even a tiny leak is a problem you need to address. That slow drip can quietly cause a lot of damage to your floors, subfloor, and drywall, leading to rot and mold. Plus, a small leak is often a warning sign of a bigger issue that could fail suddenly, turning a small puddle into a major flood. It’s always better to investigate the source right away. **How can I tell if the leak is an emergency?** A slow, steady drip from a valve is something you should handle quickly, but it may not require a middle-of-the-night call. The situation becomes a true emergency if you see water gushing from the unit, if you suspect a gas leak (you would smell rotten eggs), or if the tank itself looks like it's bulging. In those cases, immediately shut off the water and the power or gas to the heater, and call for 24/7 emergency service right away. **My water heater is pretty old. Is it even worth fixing?** That’s a great question, and it’s one we help homeowners with all the time. Most tank-style water heaters last about 8 to 12 years. If your unit is in that age range or older, investing in a significant repair often isn’t the best financial move. You might fix one part only to have another fail a few months later. If the leak is from a corroded tank, replacement is your only option, but for an older unit, even a smaller repair might be a good time to consider upgrading. **What's the most common cause of a leak that I can fix myself?** If you're comfortable with a few basic tools, the first place to check is the drain valve at the very bottom of the tank. It looks like a small spigot. Sometimes, it just needs a gentle tightening with a wrench to stop a drip. If the valve is plastic, be careful not to overtighten it. This is often the simplest cause of a leak and a good starting point for a DIY diagnosis before calling a professional. **If I need a new water heater, how long does it take to replace it?** Once you’ve decided on a replacement, the actual installation process is usually pretty quick. For a standard replacement where the new unit is similar to the old one, a professional can typically complete the job in just a few hours. Our goal is always to get your hot water running again the same day with as little disruption to your routine as possible. We’ll handle the removal of the old unit and make sure the new one is installed safely.
Available 24/7

Call the Experts that Local Homeowners Rely On

When you need home services, you want answers you can trust and work you can count on. Space Coast Cooling & Plumbing is the plumbing and HVAC company in Cocoa, FL, that brings decades of local experience, licensed professionals, and customer-first service to every job. One call connects you with a team ready to help.

Licensed & InsuredServing Cocoa Since 1994Honest, Upfront PricingSame-Day Service Available